|
GAMBLING ON A GIMBAL |
|||
|
|
MORE JELLO (CMOS WOBBLE)
The bane of any action video is jello.
Unfortunately most of the jello we see is as a result of the type of
camera we use. There are generally two types of digital camera
sensor, the CMOS which is the cheapest and the most likely type we
would have and the CCD which is often used by professionals. For an
explanation of their effects I suggest you watch a YouTube video
which explains the difference from our point of view admirably. |
||
|
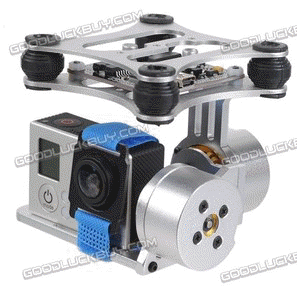
Having said that the only real solution for us aero modellers is to balance propellers AND motors. There are several videos available on the net which explain methods of doing this balancing. While balancing may take care of any propeller and motor induced camera vibrations, a digital gimbal can keep the camera level even when the quadcopter is making uncontrolled gyrations due to general flying, turning and wind turbulence . The one shown here is the one I have and keeps the camera level in two axes although 3-axis variants are available. This particular gimbal is designed for use with the GoPro (1,2,3) series of cameras but there are other versions with more powerful motors which can control heavier SLR cameras like the Canon 5D etc. Each of the two gimbal motors takes relatively small current (<140mA) on 12 volts (or 3S Lipo). There are three parts to the gimbal, a control board which you can make out here tucked away, a the gimbal itself and the tiny (20x15mm) gyro board, unseen in this image, which is affixed on the underside of the mount beneath the camera. There are two boards and clones available to modellers, the Martinez board and the Alexmos board, the latter being regarded as the better one. This version has a Chinese clone of the Alexmos board. The whole caboodle cost £71 post free from China — a bargain I reckon. I'm very pleased with it and Vocanlo on eBay comes highly recommended. |
|
||
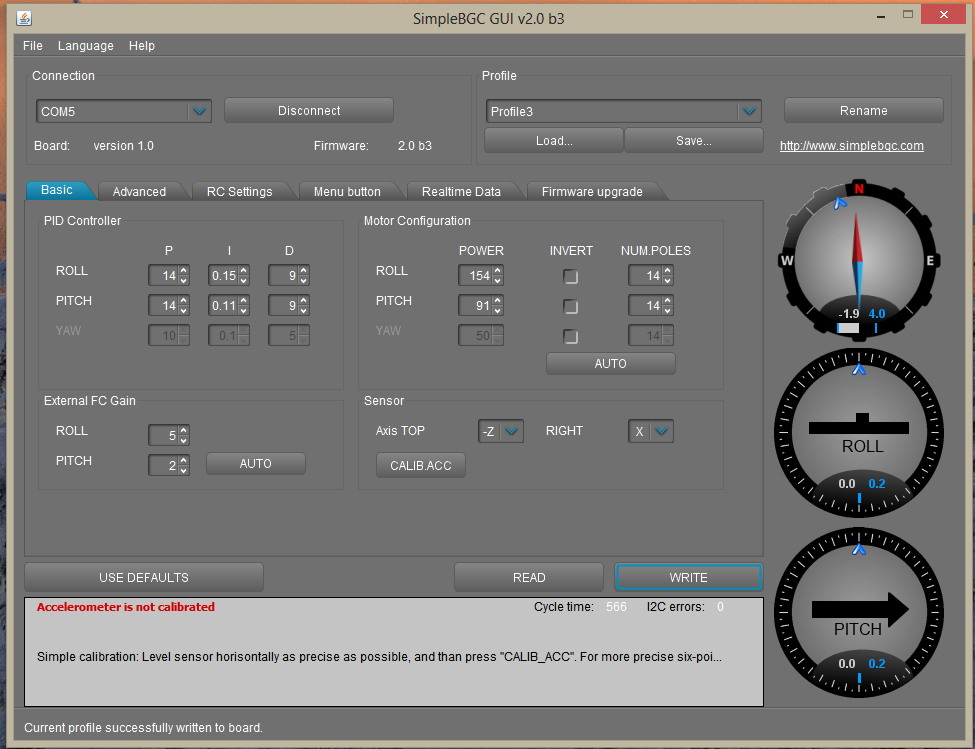 |
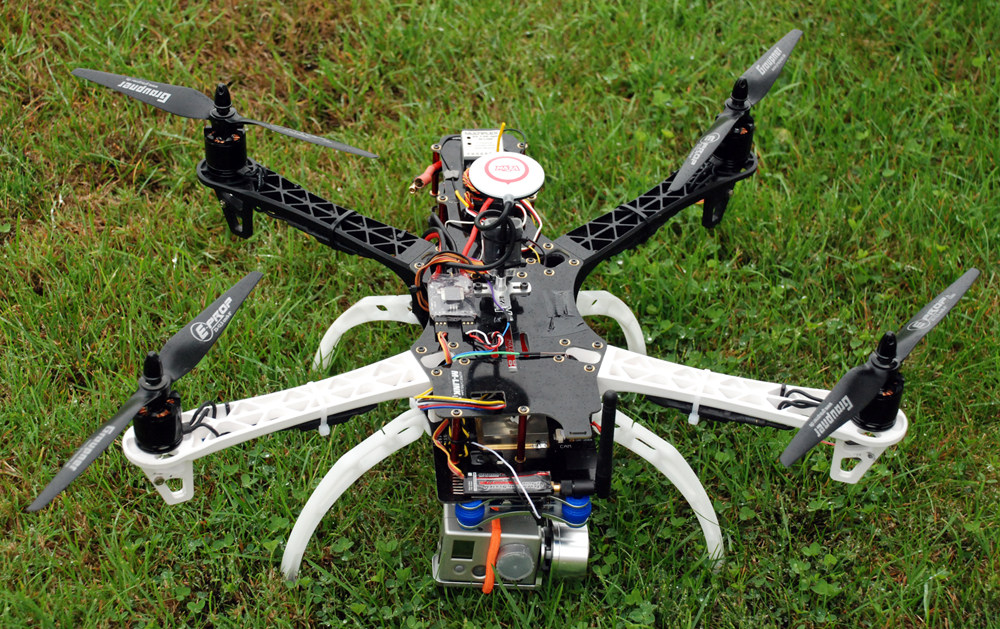
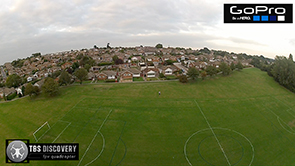
GUI The 'Simple BGC' Gimbal that I have has a graphical interface (GUI) which, as you can see, is rather daunting for the number of variables is quite large. Fortunately, my Alexmos clone board came ready set up with parameters. It really was RTF. I was so pleased since Gimbal tuning is a bit of a black art. My board was ready flashed with Firmware version 2.0b3 but I see there are already updates available. I am not ready to re-flash my board just yet for I am wary of using the XLoader program to upload a new Hex file in case it fails. REARRANGING THINGS I added a set of legs to my Discovery quadcopter (£12 from DJI) and moved a few things about to get my quad to balance. I also set up an independent control for the pitch control of the gimbal on a slider on my transmitter. This enables one to point the camera down (or up) while flying (see video below) although in my case it's not quite shooting vertically downwards. I reconfigured my 3watt led lights. I now have five leds in stead of four. Over-running four leds on 16.8 volts was not such a good idea as they kept blowing! I have them on a Y-lead and they come on when the Home Lock switch is engaged. (I had to buy a £3.75 servo reverser to achieve this.)
|
||
|
|
|||
|
All this means that my quadcopter has put on
weight, it now weighs just over 1.8kg. The 9" x 5" Graupner props
still just manage to get it off the ground. Forgot to say, I
upgraded the DJI GPS Firmware to V.2 btw. Went in easily. September 2013 So, my latest iteration. TBS quadcopter sporting new DJI legs, a gimbal from Vocanlo on eBay, a Hobby King Quanum battery voltage/capacity/current/temp sensors and 2.4GHz transmitter. Naza Controller v.2 + GPS, 900kV Black Sheep motors, Graupner 9"x5"s, GoPro Hero2, 5 x 3watt leds & Multiplex 2.4GHz 7 channel receiver |
|||
|
Web Resources:
http://www.dji.com/dji-officially-released-the-landing-gear-for-flame-wheel/ September 2013 |
|||
