|
MADSLIDE - 2300 - part I [a.k.a. DARK MATTER] This is my new model driven by the unseen forces Gravity, Electricity, Magnetism and Solar Radiation |
|
|
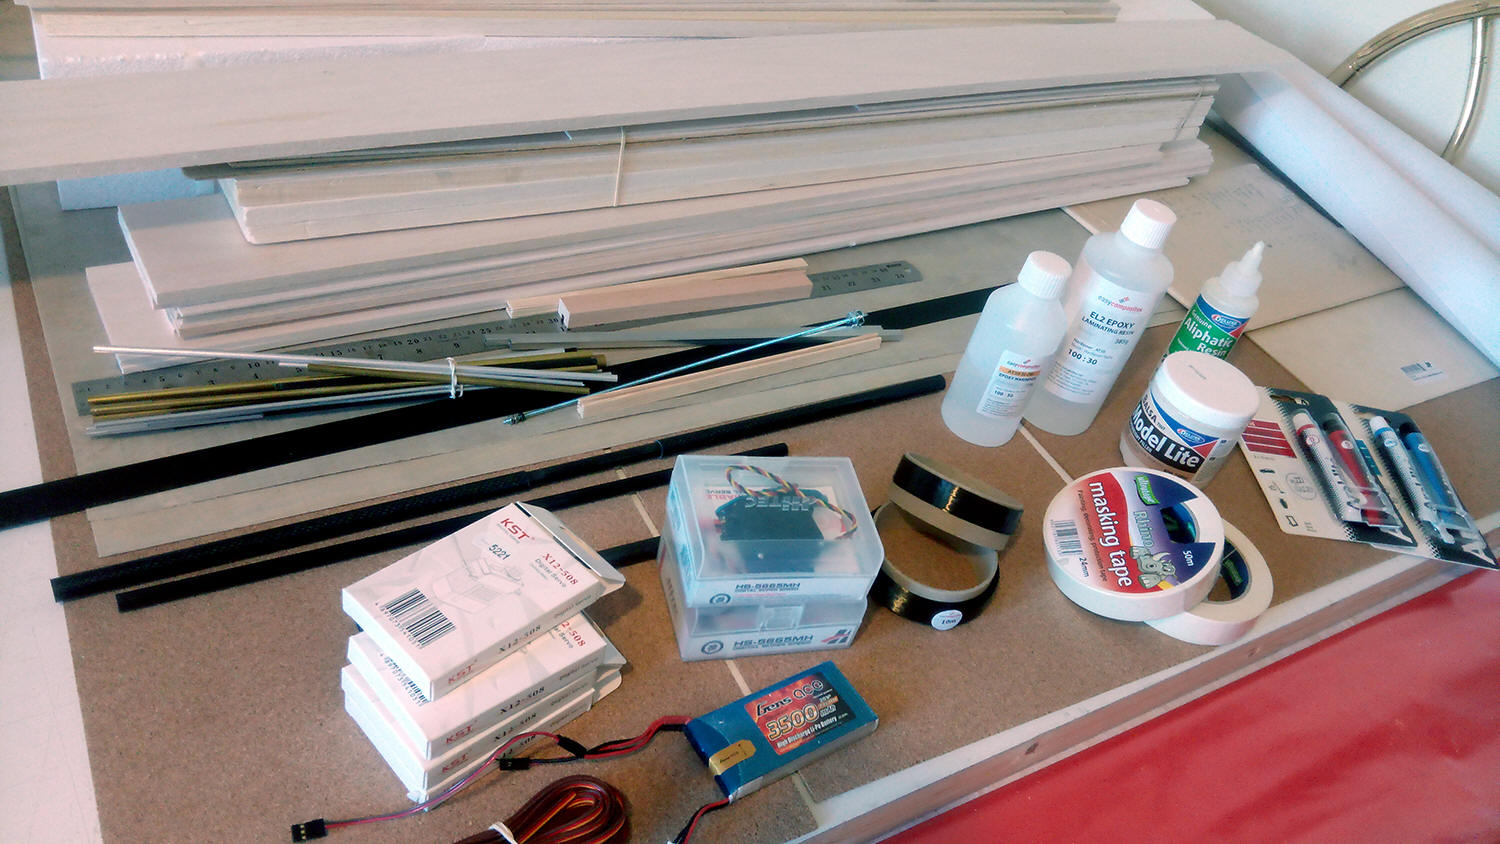
So, it's now the end of January 2021 and the Chinese Wuflu, or more correctly the SARS-CoV-2 B.1.1.1.7 variant, plagues us all with more virulence than ever in this pandemic. It's back to the building board for me again to bide my time until slope soaring becomes a possibility once again. This will be Lockdown model number four.
|
|
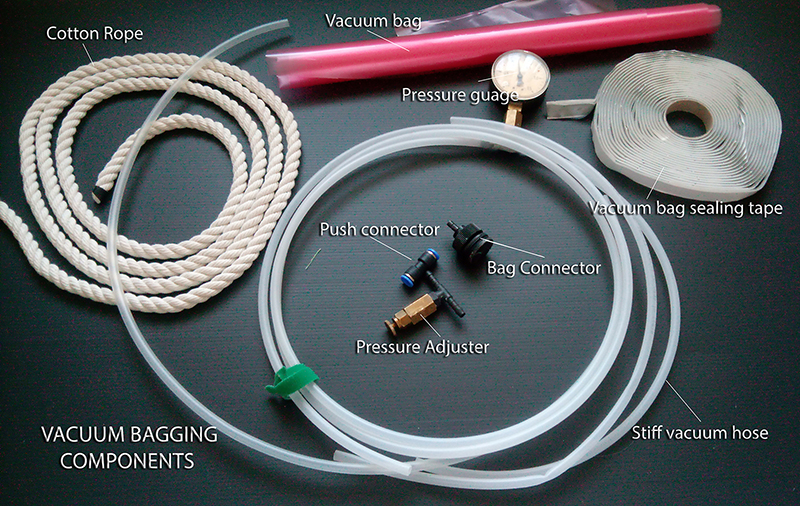 |
My second image on
the left shows the basic things I shall need for the vacuum process. The
rope is simply to create an air-escape pathway inside the Nylon
vacuum bagging material which can seal itself when it touches itself
and 'seals' before all the air is
extracted.
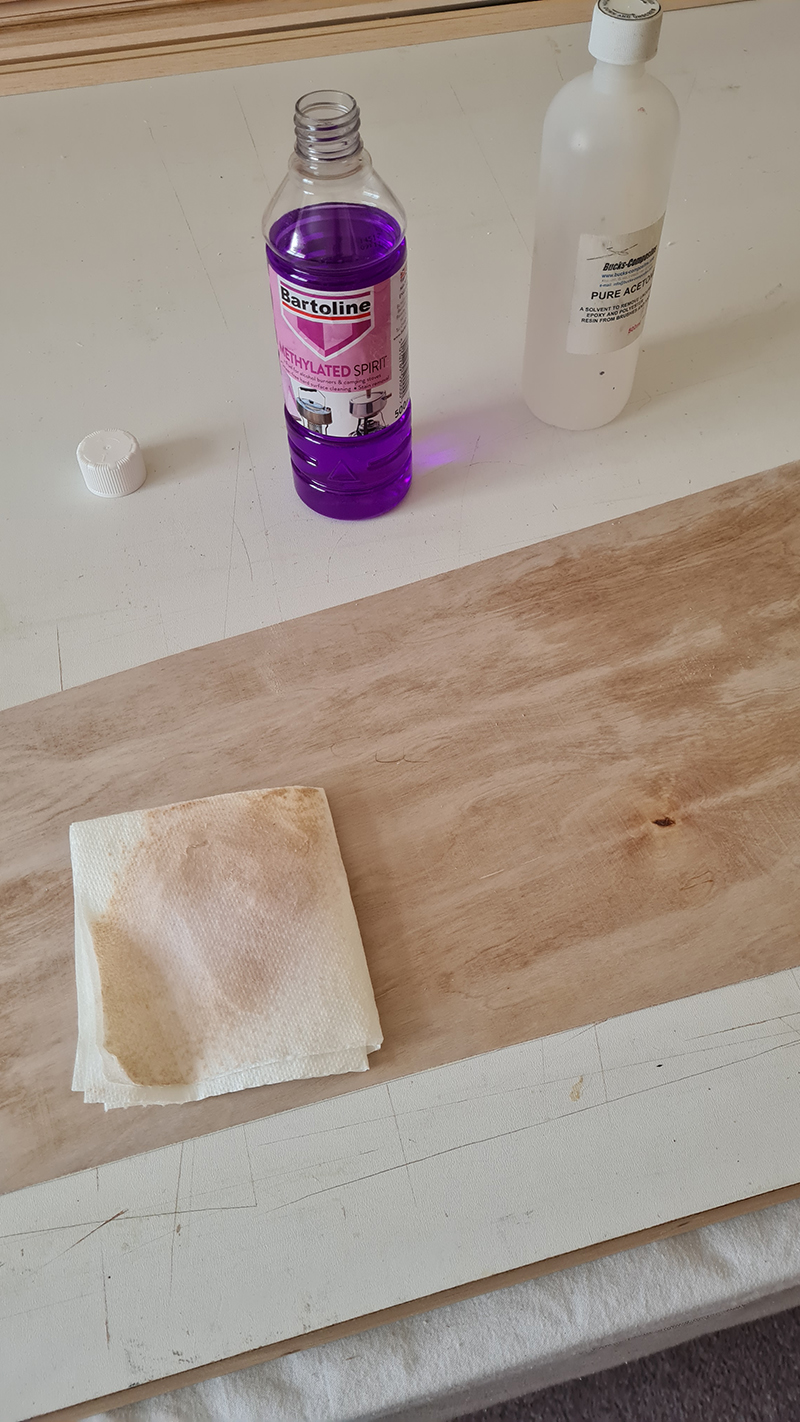
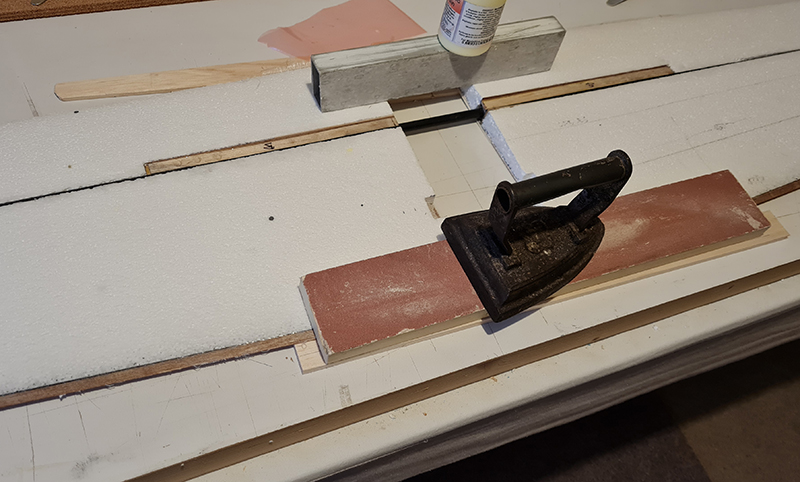
The pressure gauge does what you would expect, in my case here I shall only need a partial vacuum to get the 0,4mm ply to go over the curve of the foam core (<0.4bar). The snap joiner is a reusable connector for the stiff 'un-crushable' vacuum line and the pressure is adjusted by allowing air leakage into the bag. The bag connector has two silicone washers which go either side of the nylon of the vacuum bag. The vacuum sealing tape (1cm) is a reusable mastic, bit like Blue-Tack, that sticks to everything for sealing serious leaks and sealing the bag. I have a very heavy Edwards High Vacuum Pump that gives almost a complete vacuum, given to me by Doc Hammond decades ago. The only thing I have not yet made is a simple trap to catch any excess resin that escapes the bag which can find it's way along the tubing into the vacuum rotor vane assembly (I know, it happened to me). First, I needed to prepare the cores by trimming them to match each other, then cutting the ply to size and preparing its surface for epoxy by wiping with solvents (Lighter fluid/Meths/Acetone) to remove any release agent of wax on the ply skins before a light sanding for keying the epoxy. I shall not do any other prep on the foam or ply as I want the top surface of the ply covered wings to look as perfect and blemish free as possible. All the other stuff, the cabling, spars, joiner tubes will be done from the underside before the underside layer of ply is vacuumed in place. |
|
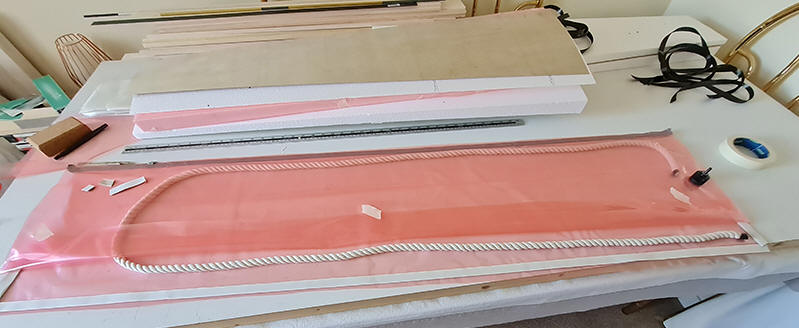
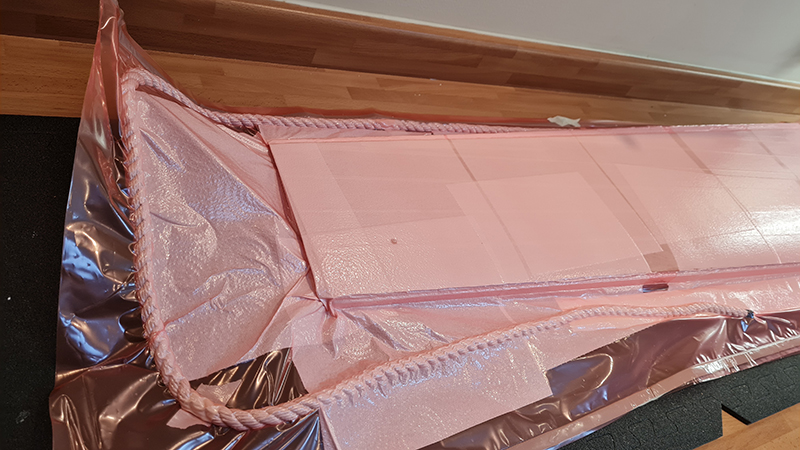
So I
started my new model on 12th March. I sketched out how I thought the
flaps and ailerons might be and cut a few strips of flat u.d. to go
under the ply skin to keep the ailerons and flaps stiff. I prepared
a vacuum bag from 160ºC Nylon bagging material and sealant and got
my pump and stuff ready. The cotton rope in the image provides a
pathway for the air to leave the bag, there will be paper towel
sheets in there as well to provide my pathways and soak up any
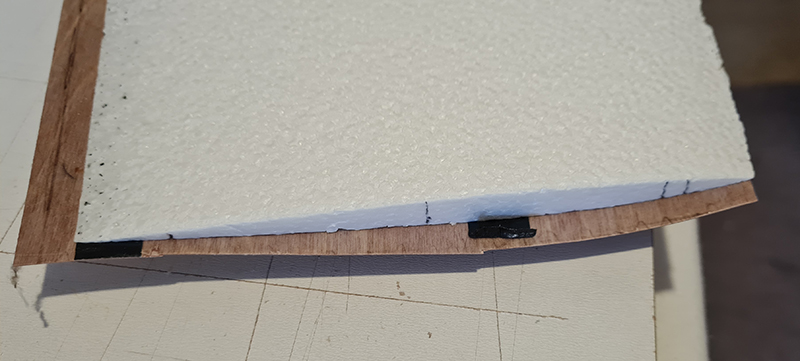
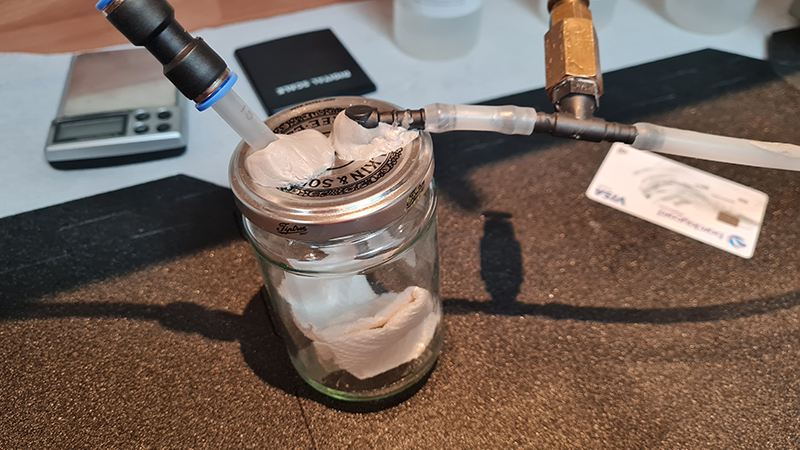
excess resin that may migrate from the skin/foam. The 0,4mm ply was cleaned with methylated spirit and acetone to remove any surface grease or wax and lightly sanded for good adhesion. Preparation is the important thing, only mixing the resin at the last moment. The core outers were wrapped with nylon to keep them from sticking. I added a little 100gsm glass around where the wing joiner will be bar. I mixed 50gm of resin with 15g of hardener which was a pretty good guess. With this model, since all of the strength of the wing will be in the skins, I opted for a minimal 'spar' of u.d. carbon and a shear web of 0,5mm carbon sheet. The joiner is a 10mm carbon rod sitting in 'roll-wrapped' carbon tubes in the wings. |
 |
 |
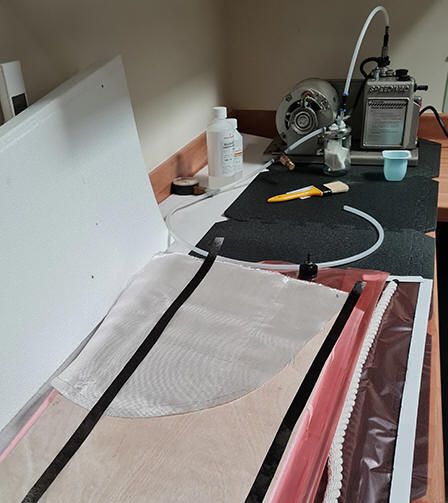
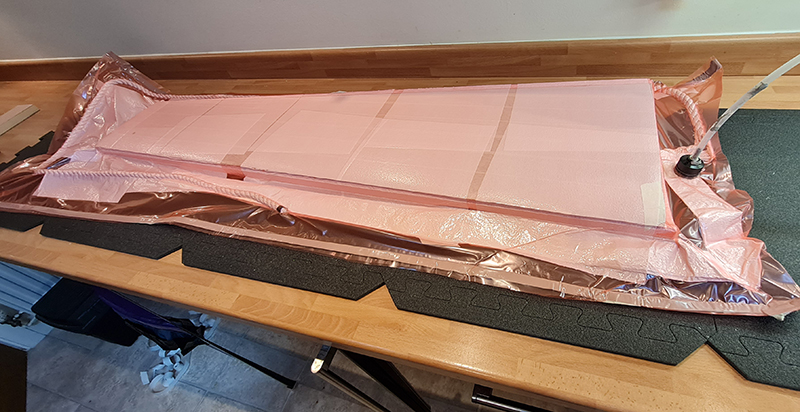
In the first instance,
as I said, I simply covered the top surface of the wings directly so
as to have no marks showing from the bits inside. I subsequently
added the rest from the underside before finally sealing the whole
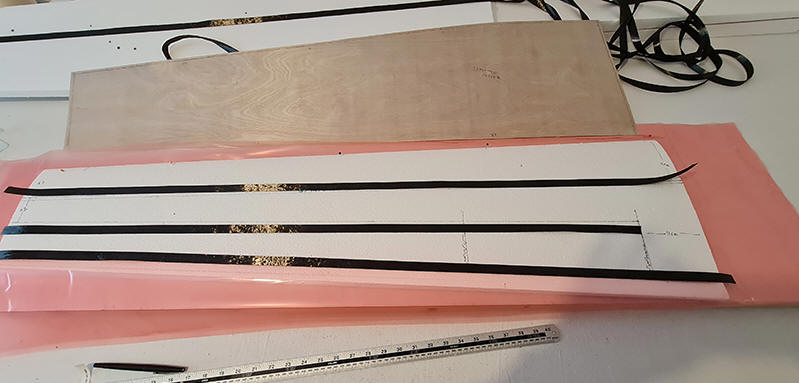
wing with the bottom ply surfaces. The first bagging went well, both top surfaces came out ok. I had lined up the wing dowels and locating pins for the wings. I filled the little errors I had made here and there. I had the carbon in place and the glass reinforcement around the root. By the 24th March I was ready to close the wing. I put the first core with bottom skin under the vacuum pump. I can hear the pump as I write now. I'll leave the wing overnight to cure. So here are some images of the process I used. Blow is a homemade trap to trap any resin that might escape the pink nylon vac bag into the pump (it didn't). I sanded and cleaned any muck/release agent/wax from the surface with Methylated spirit and Acetone and cut my pieces of cloth and U.D. carbon I should need. |
 |
 |
|
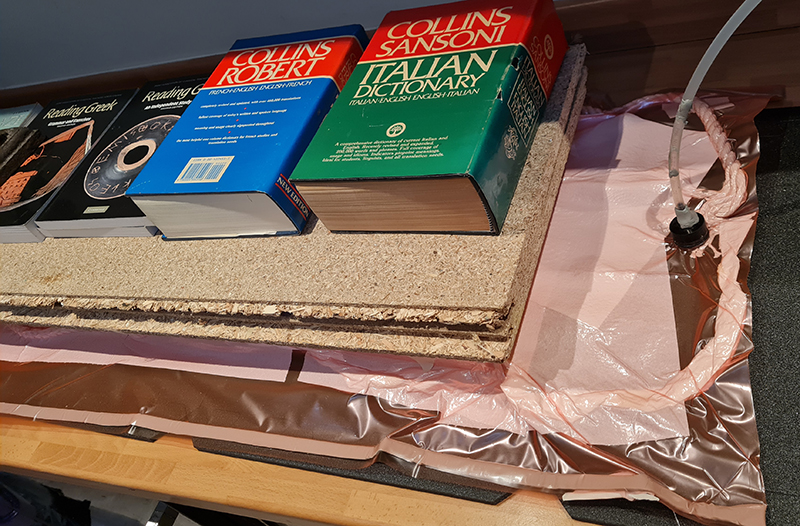
The
first top surface bagging went exceedingly well. You can see the
carbon U.D. on the trailing edge and the top 'spar'. The next image shows where I removed the foam for the dowel assembly, in this case a 10mm carbon rod fitting inside wrapped carbon tubes all in a ply wood box. You can to see the vertical carbon shear web in the photos which extends outwards towards the tips. Locating pegs for the wings were also inserted and the whole wing dowel assembly glued together aligned perfectly of course! When this had set overnight I was ready to 'close' the wing by adding the bottom ply surface. You can see the effect of the vacuum bag, the rope provides a pathway for the air to escape the bag, I covered the surfaces with paper towel to ensure an equalised even low pressure in the bag. I set the vacuum for about 0,4 Bar so as not to crush the foam too much. A higher vacuum can be used for blue foam. The wings were set back in their outer and weighted flat with some chipboard and heavy books. If you intend to have a wood finish, as I do it is important cover the whole wing surface with wide masking tape (50mm) to prevent epoxy resin getting on the skins, this is cheap enough from any 'Pound' store. I roughly cut the trailing edge and added 5mm square for the leading edges, I have obechi for the tip blocks as well. |
|
|
|
 |
 |
 |
 |
 |
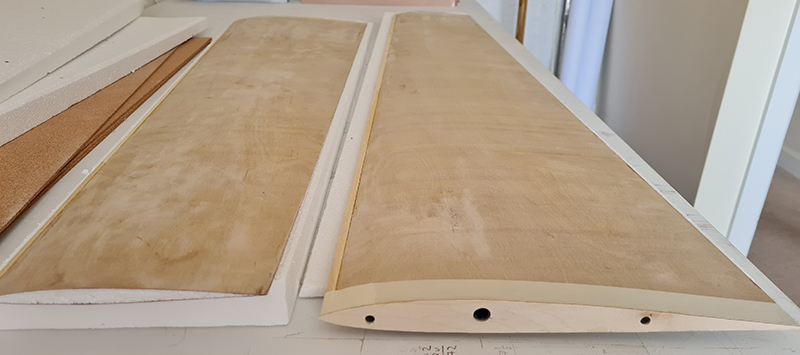 |
Both
panels came out at just under 500g. without servos. I shall leave
cutting the ailerons and flaps and finishing the wings till a later
date when I have made the fuselage. My half-finished wings: the leading edges still need attention i.e. planing and sanding, and the whole wing joins together nicely I incorporated piece of 6mm ply for the screw hooks to go into and faced the roots with 0,8mm ply. They are very strong and torsionally rigid seeing as they don't have much of a spar. The ply cost around £96 so not a cheap option, however there is no Oracover or paint and primer to pay for. I am very satisfied with my model so far. The root chord is a large 300mm and the tip comes in at 175mm. Overall the wingspan is about 2350mm. Quite a large area compared to my Kinetic and Raptor aerobatic models. |