|
BUDGET VACUUM BAGGING
|
||
|
Remember the Lidl Glider? For less than a 'tenner' (£10) this little kids’ foamy could be transformed into a cheap little RC plane with ease; the number of variations on a theme are unbelievable, it was hugely popular with modellers across the world as evidenced by the plethora of YouTube videos available today. |
|
|
|
Well,
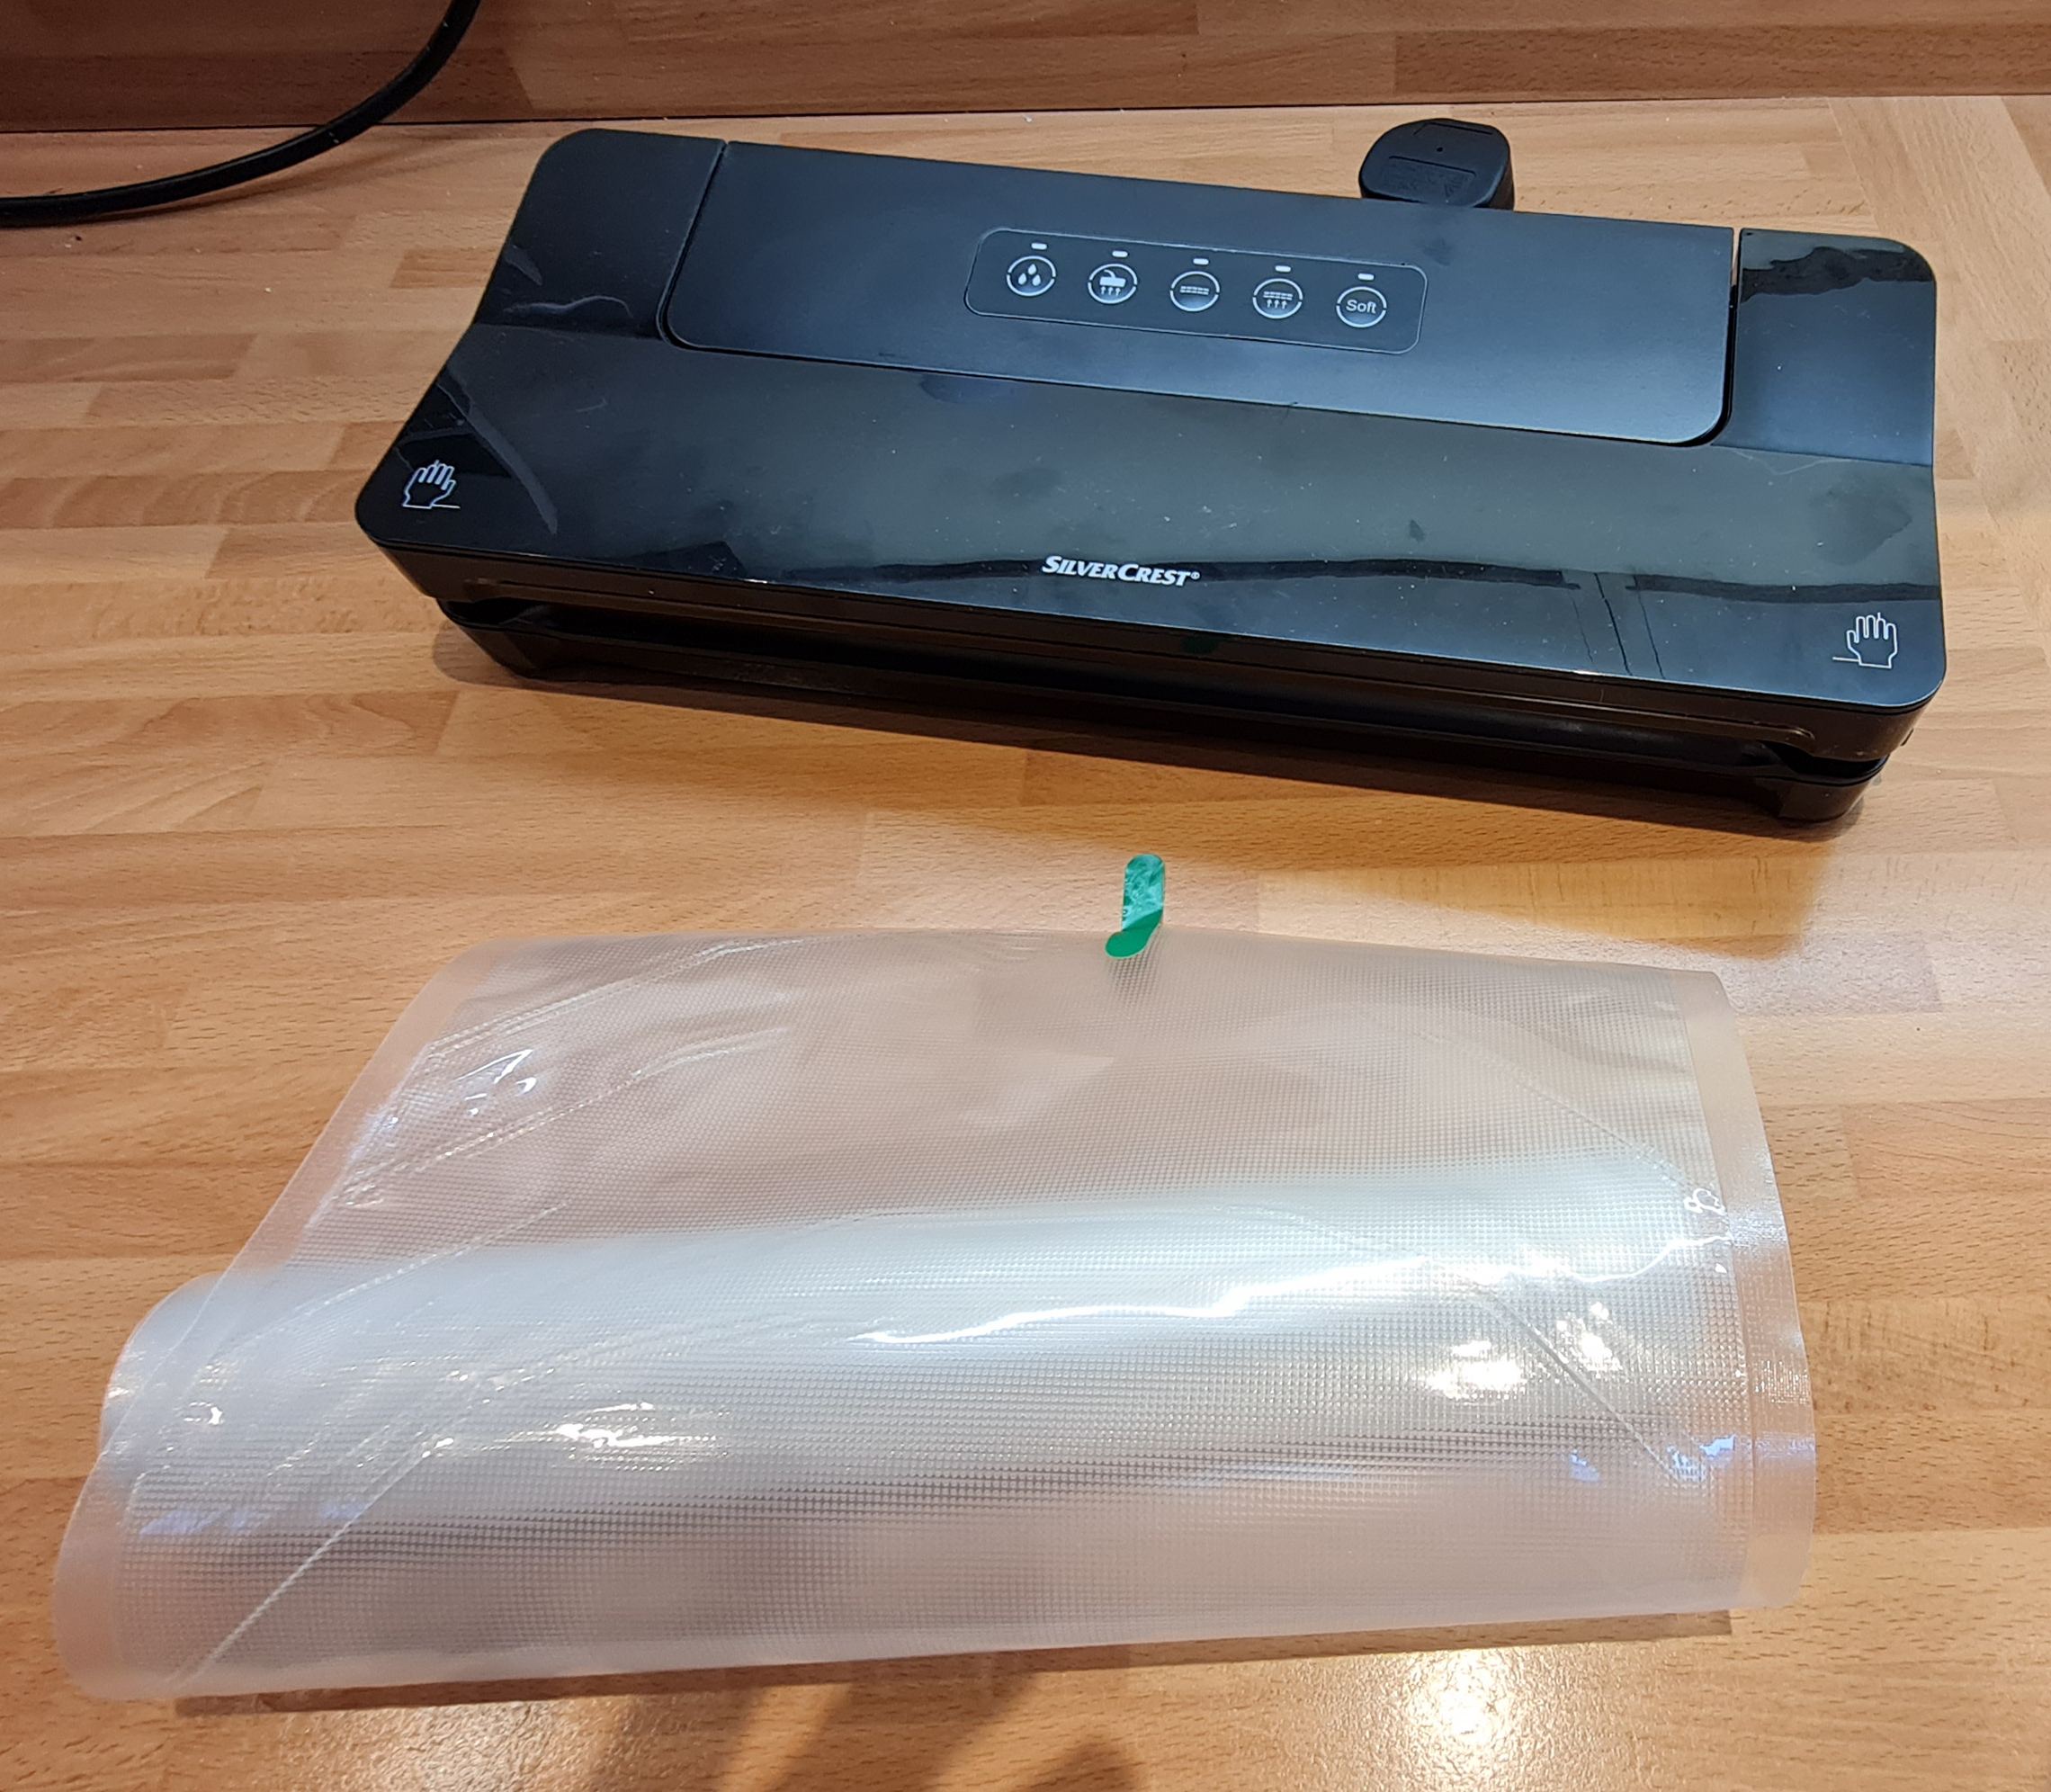
here’s another gem, IMHO, a Lidl Vacuum Sealer. As I have done a bit
of vacuum bagging in the past I thought I’d give this vacuum sealer
a go for small items. In the event of it being useless it would
simply find a use as a £20 piece of kitchen equipment.
[The vacuum sealer works by first sealing a length of lay-flat thermoplastic tube at one end with its heating element, then inserting the item/s to be vacuum sealed (usually food). The other end of the bag is then inserted back into the machine for the automatic air extraction and sealing. It’s remarkably quick and surprisingly effective.] |
||
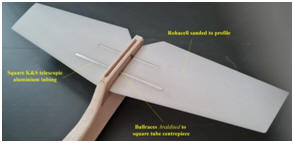
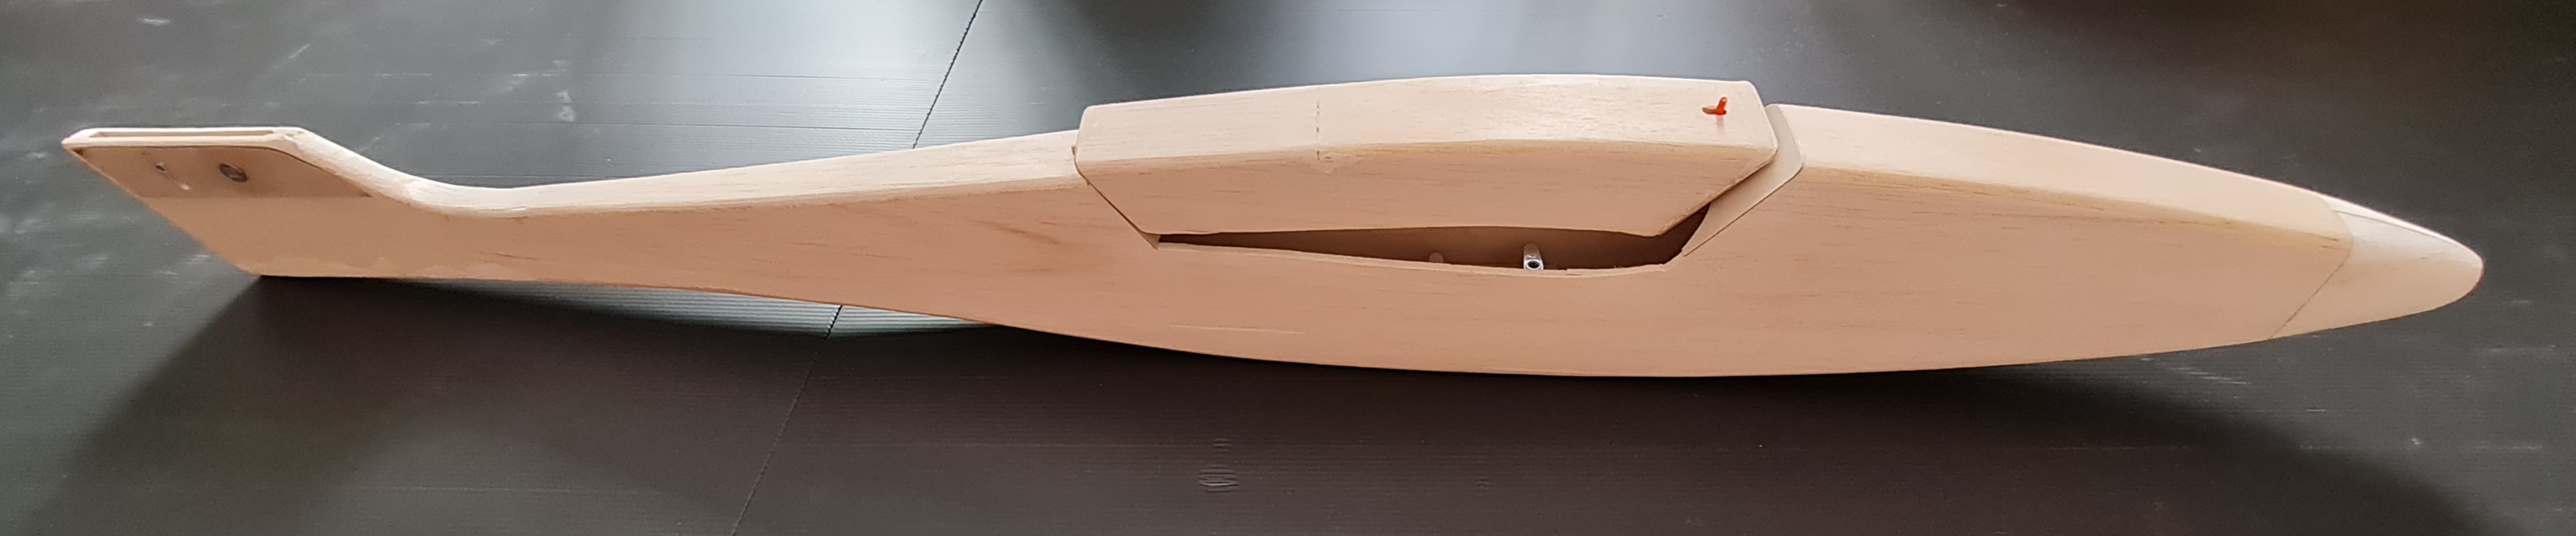
So, I decided to try my new vacuum machine by making an experimental tailplane from Rohacell, a hard closed cell foam that can be readily sanded to shape. It is expensive and comes in various sheet sizes in 1, 2 3 and 5mm thicknesses. I chose 5mm sheet and sanded a symmetrical profile and added said experimental K&S square aluminium tubing which I had never used before for the main wing dowel. I chose a pair of ball races that fitted the square tube and glued them with overnight Araldite. |
||
|
|
||
|
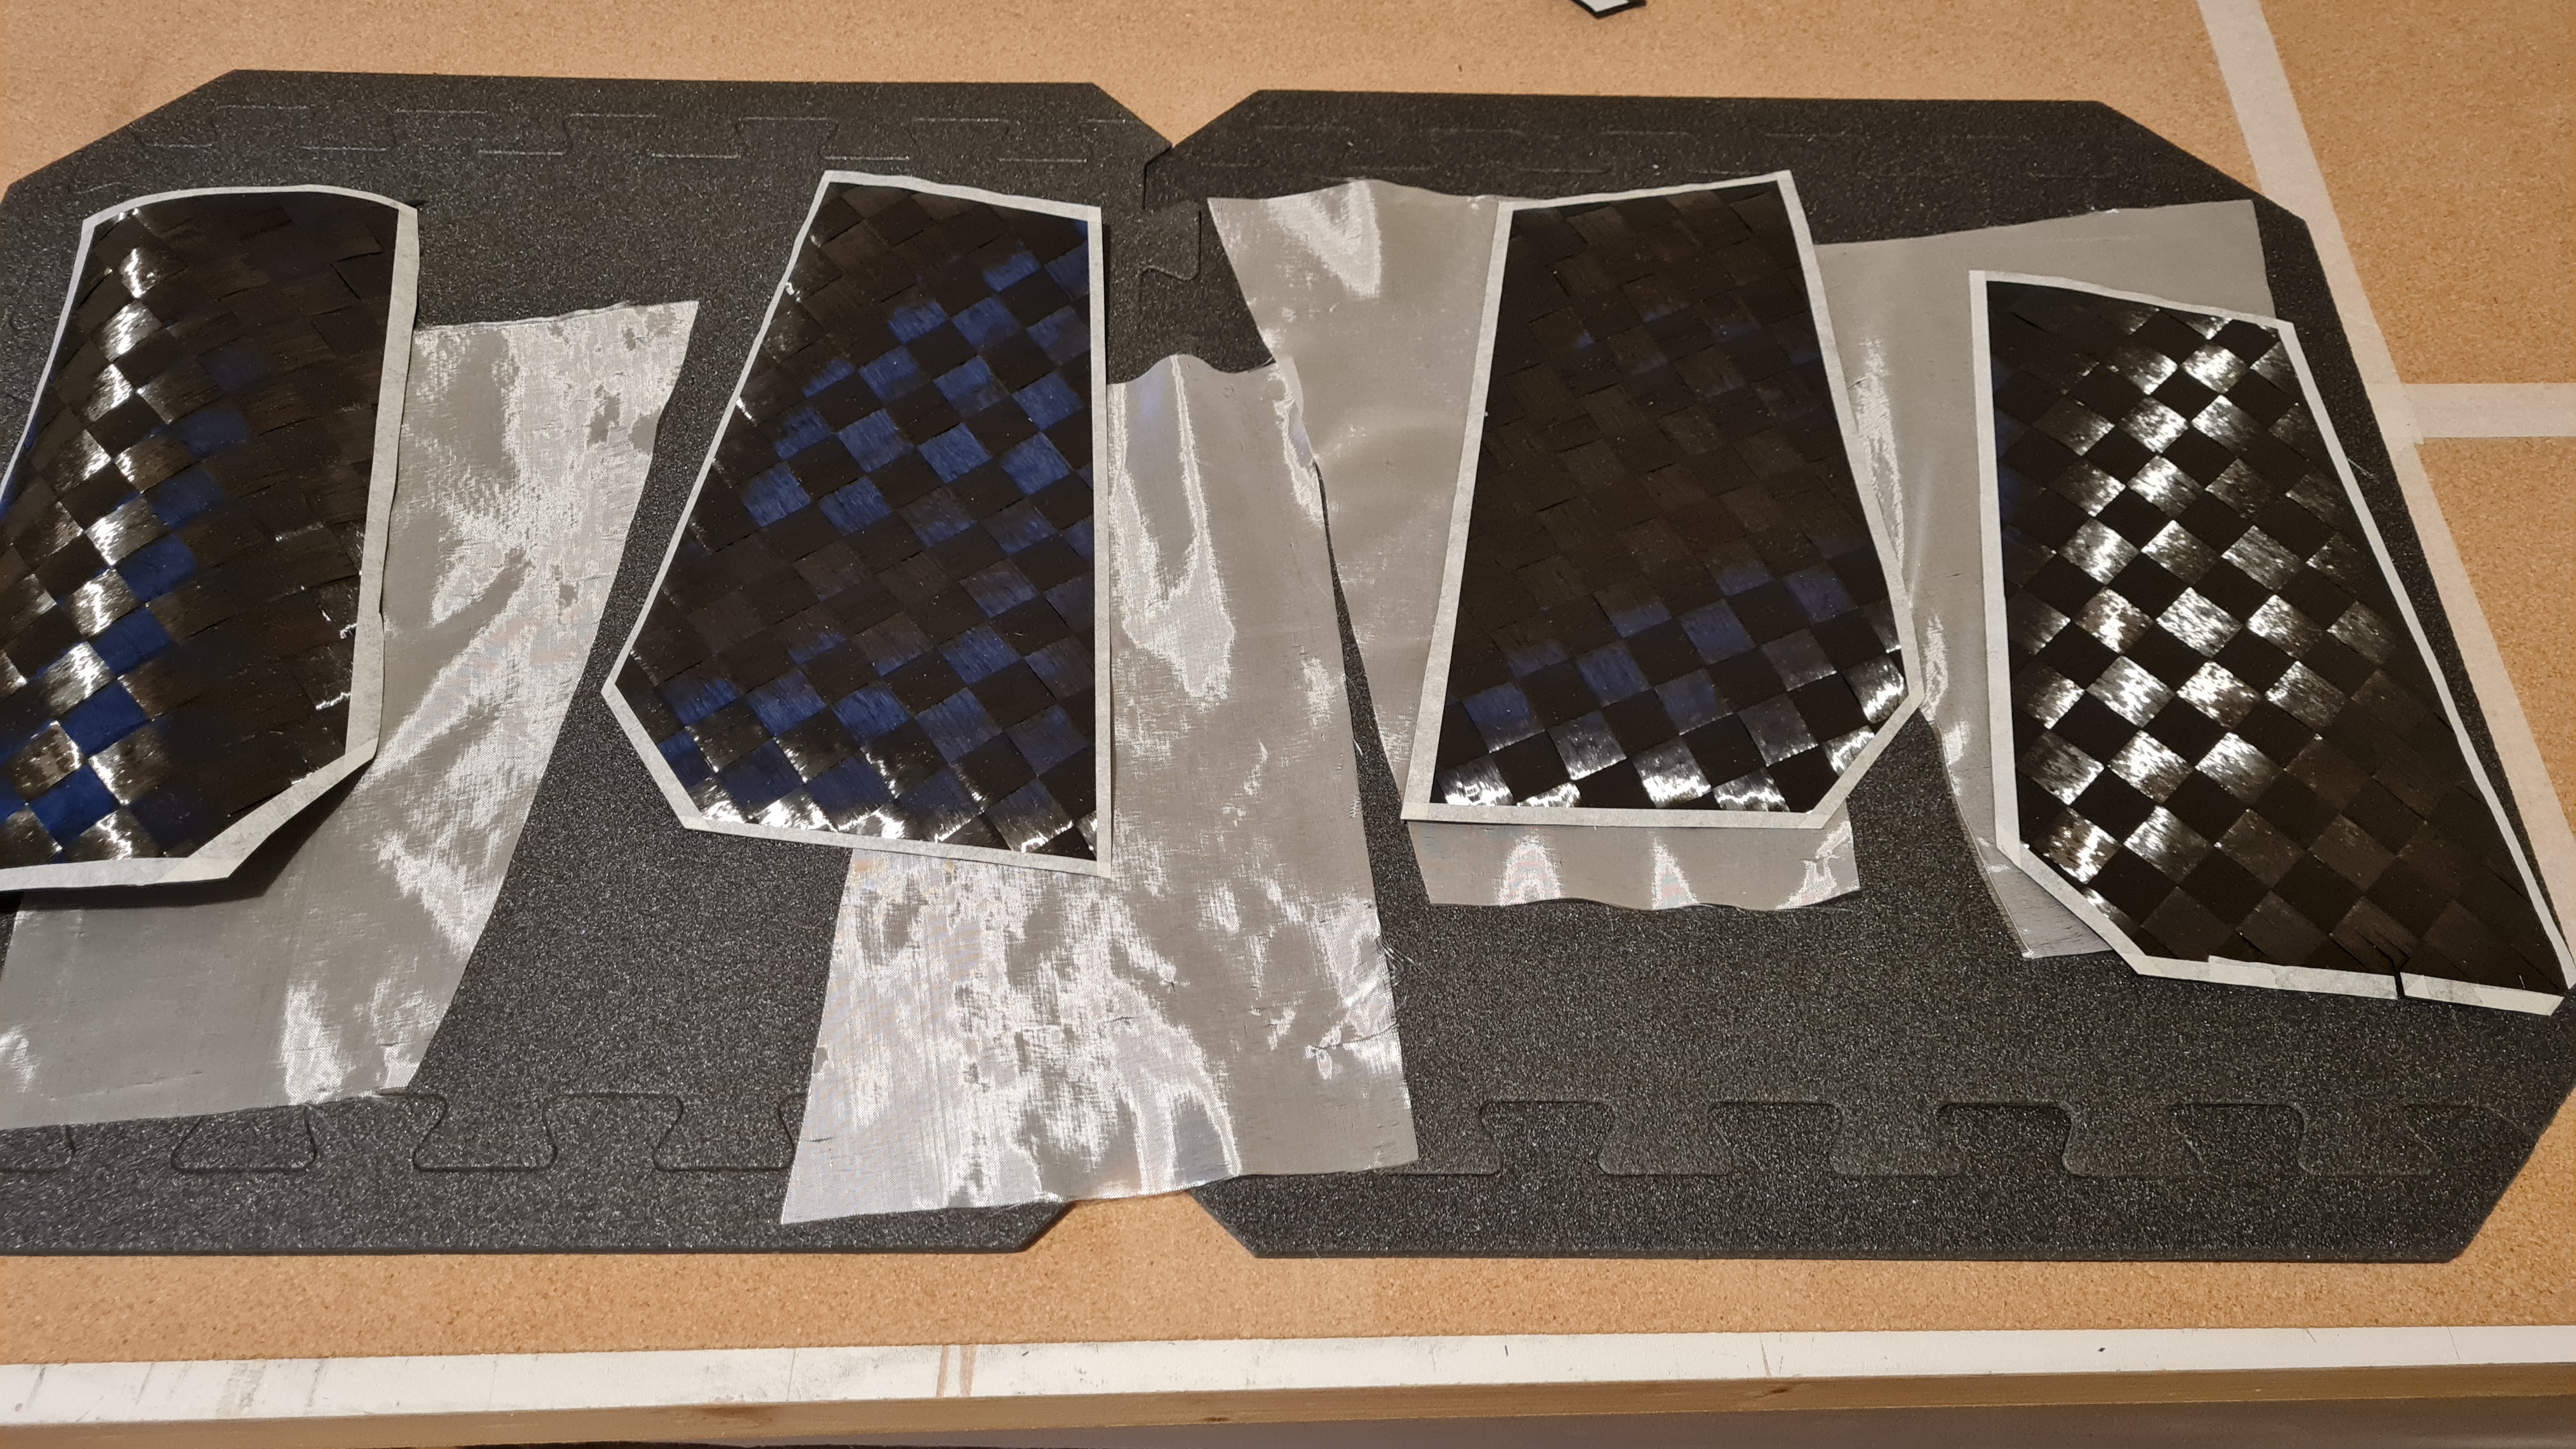
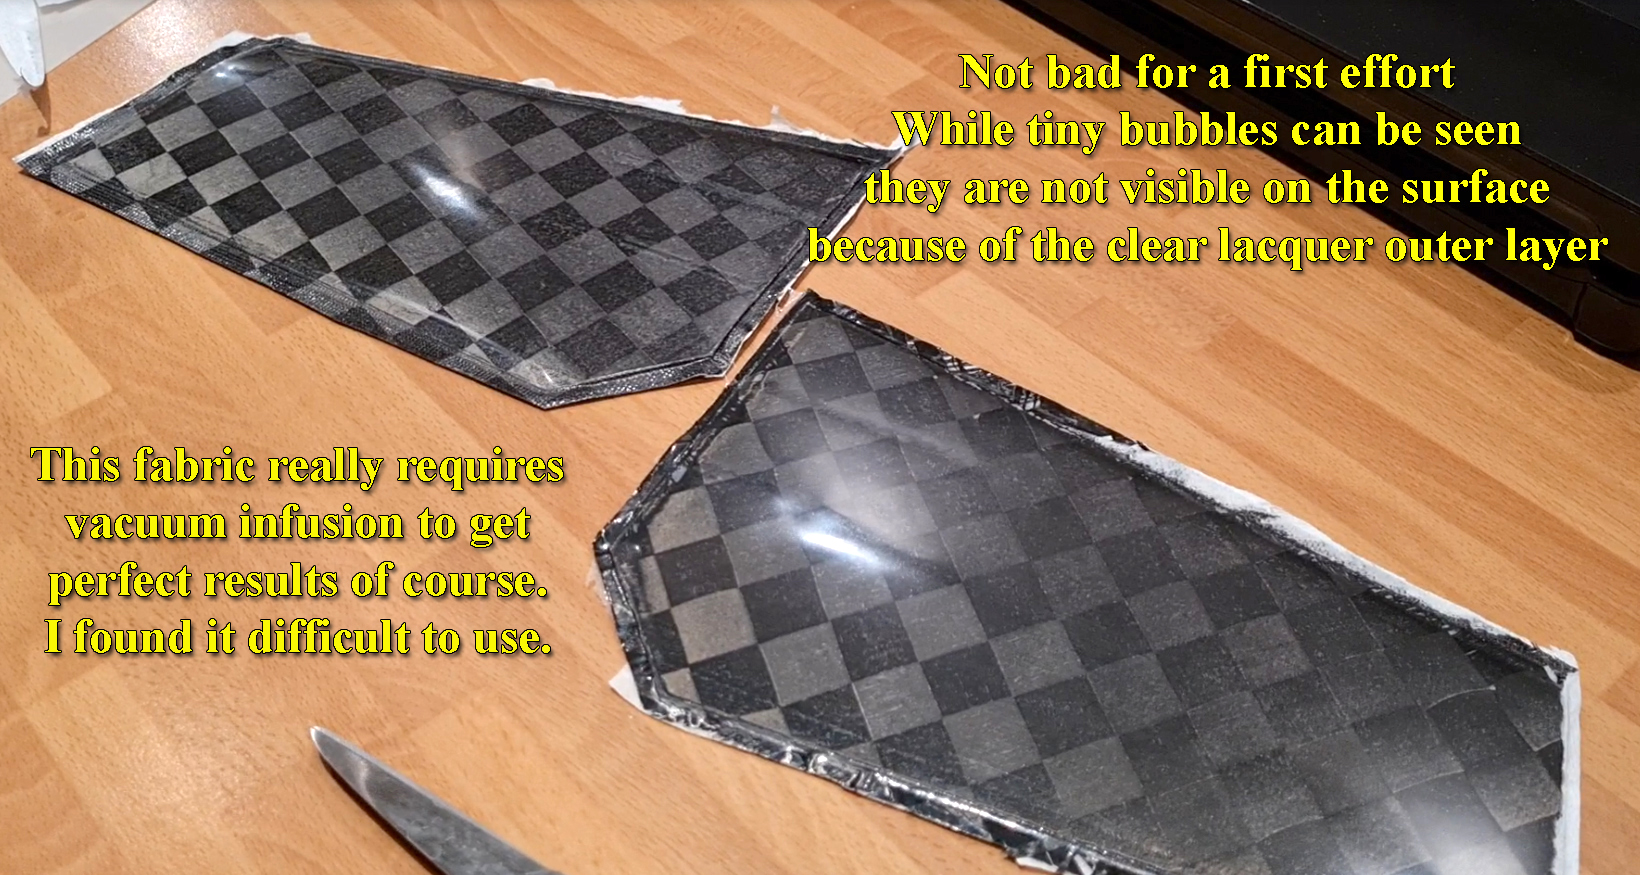
Next step was to cut the Mylar sheets to provide the surface finish for the elevator and cut the carbon and veil glass to size. This carbon cut on the bias at 45º is very difficult to use since it is so fragile and pulls and frays easily. I found the best way to cut the cut the carbon was to mark the outer limits with masking tape and then cut it through the tape oversize. In this way the carbon holds its shape for wetting out with brush, squeegee and resin. I had never used this fabric before – i.e. experimental. All was going well until I made a bad decision; I decided to cover the two top surfaces at the same time rather than doing one whole tailplane half in one go. I didn’t realise this was a mistake until much later on! When making wings I used to cover top and bottom surfaces of a wing together. More later... |
||
|
|
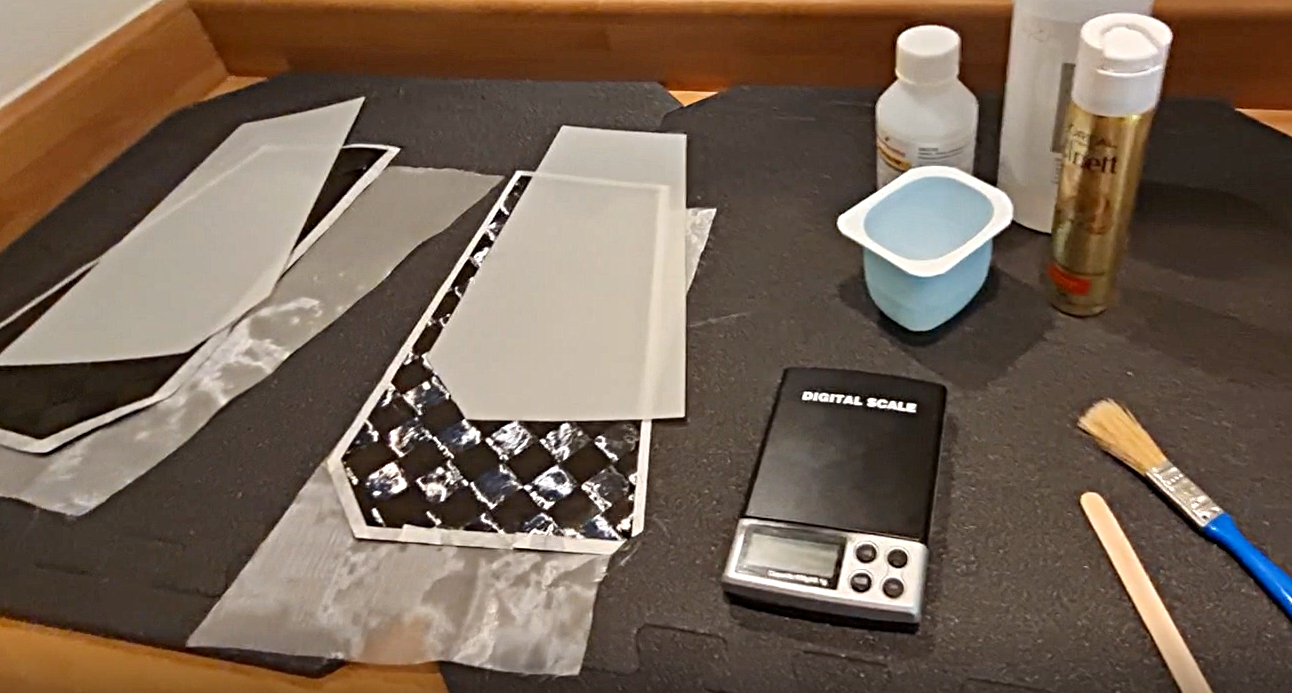
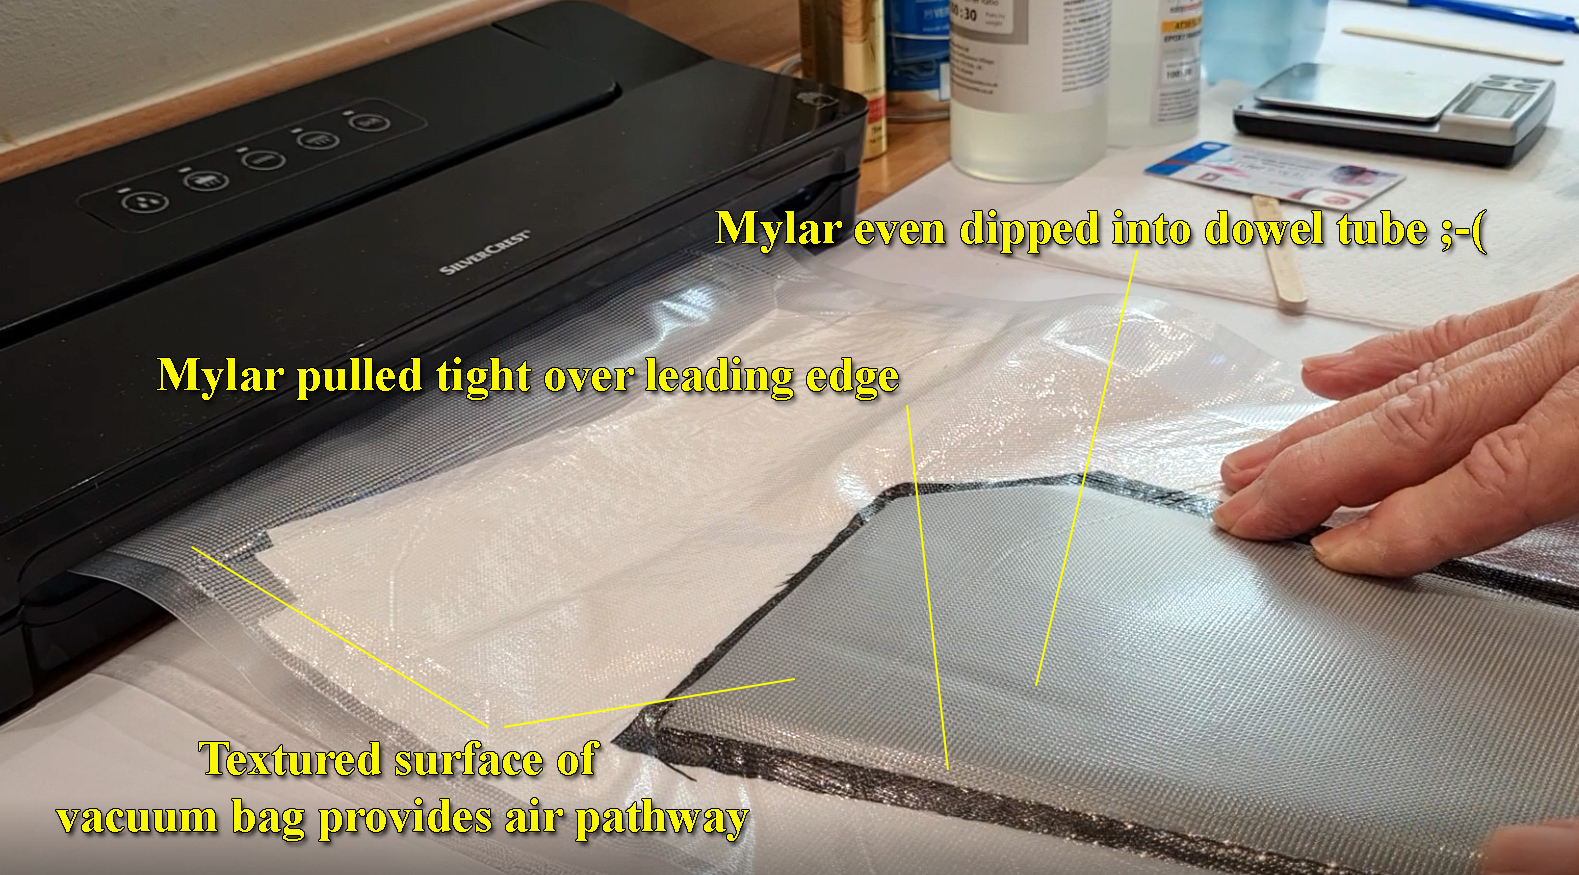
After spraying the Mylars with clear rattle-can lacquer to prevent surface pinholes, and act as a release agent, the wetting out of the glass and carbon went well using a brush and then my old bus-pass plastic card. I used a tad of hairspray just to hold the lightweight glass in place and set to work with the slow resin from Easy Composites. Putting the slimy lay-up the special vac bag and vacuum sealing went well too. I was a happy bunny. I did both of the top surfaces in separate bags with a little kitchen paper to provide a better air path through the bag and set them aside, flat, under a pile of books all sealed up and not leaking! (as can happen with a regular vacuum bag) for the resin to cure overnight. I had been recording most of my work on my mobile and set about reviewing my shots on my laptop with a view to making a short video. You should be able to watch that on YouTube when I’ve finished editing so you can see my method. |
|
|
That went well
as did the second surfaces of the tailplanes. Having had some of the
excess resin escape onto the paper towel I decided to cover my very
good top surface with tape to protect it from excess resin second
time around. I chose brown parcel tape….BIG MISTAKE
When I came to remove said brown parcel tape it wanted to stay where it was ‽ It didn’t just tear off‽ The polyester tape separated from its adhesive which had a fatal attraction for my clear lacquer‽ Fatal, yes, I couldn’t use a solvent to remove the adhesive since it attacked my lacquer and even the resin. Scheiße, Verdammt, Helvete, Gówno, Mut, Merde, Cazzo! The tailplanes were unusable. However, there were no pinholes in the surface, any tiny air bubbles were trapped beneath the layer of clear lacquer. Had this been opaque paint it would have looked very good |
||
|
I said experimental, my experiment was a partial success; the vacuum machine worked a treat. It has second settings for less vacuum and wet items but it also comes with a clear plastic pipe and a set of adaptors for vacuum containers which plug in the side of the machine. Next time I shall cover both sides at the same time as I used to do. My guess is that this could be used to evacuate a regular vacuum bag using the pipe plugged in the side; I haven’t tried it though. I was surprised by the power of the ‘suck’ as well and it easily ‘contained’ its vacuum over at least a couple of days to my knowledge. So it was a qualified success but you can see for yourself because my video is here on YouTube, slightly edited, albeit running at 8 times speed to shorten its boringness.
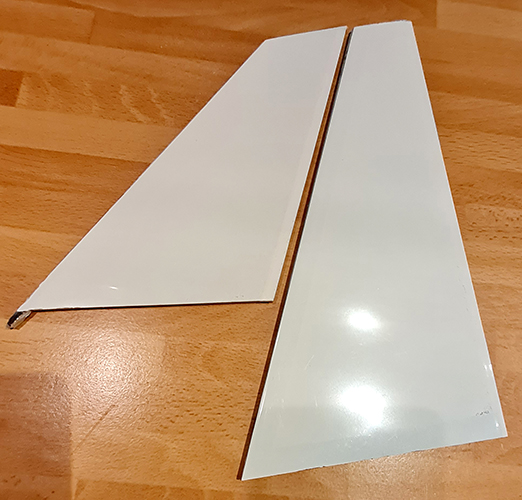
After my 'success' with the carbon spread-tow I decided to try something a little different. For the fin and rudder I used Rohacell, and balsa for the rudder post, covered with one layer 105gsm twill glass fibre. This time I used white aerosol primer instead of clear lacquer to paint on the Mylars. I did both top and bottom surfaces together this time. I could have been more sparing with the epoxy as there was some 'flash' that squeezed out. To be honest I prefer the white primer... after hinging thy are ready for a final top coat of colour. I was very pleased with these. Before covering 17g the pair, after covering 42g... the glass and resin added 25g. P.S. I tried a dry fit of the 220mm chord foam core I intend to use for the wing of this model and it fits inside the 260mm wide plastic bagging material supplied. It's a bit tight at the root but I reckon a 750mm wing panel could be vacuumed using this method! You have no control over the vacuum suction however, so white beaded foam may not be a reliable option but an extruded foam may well work well enough as it will not compress as much as cheap 'builders' foam.
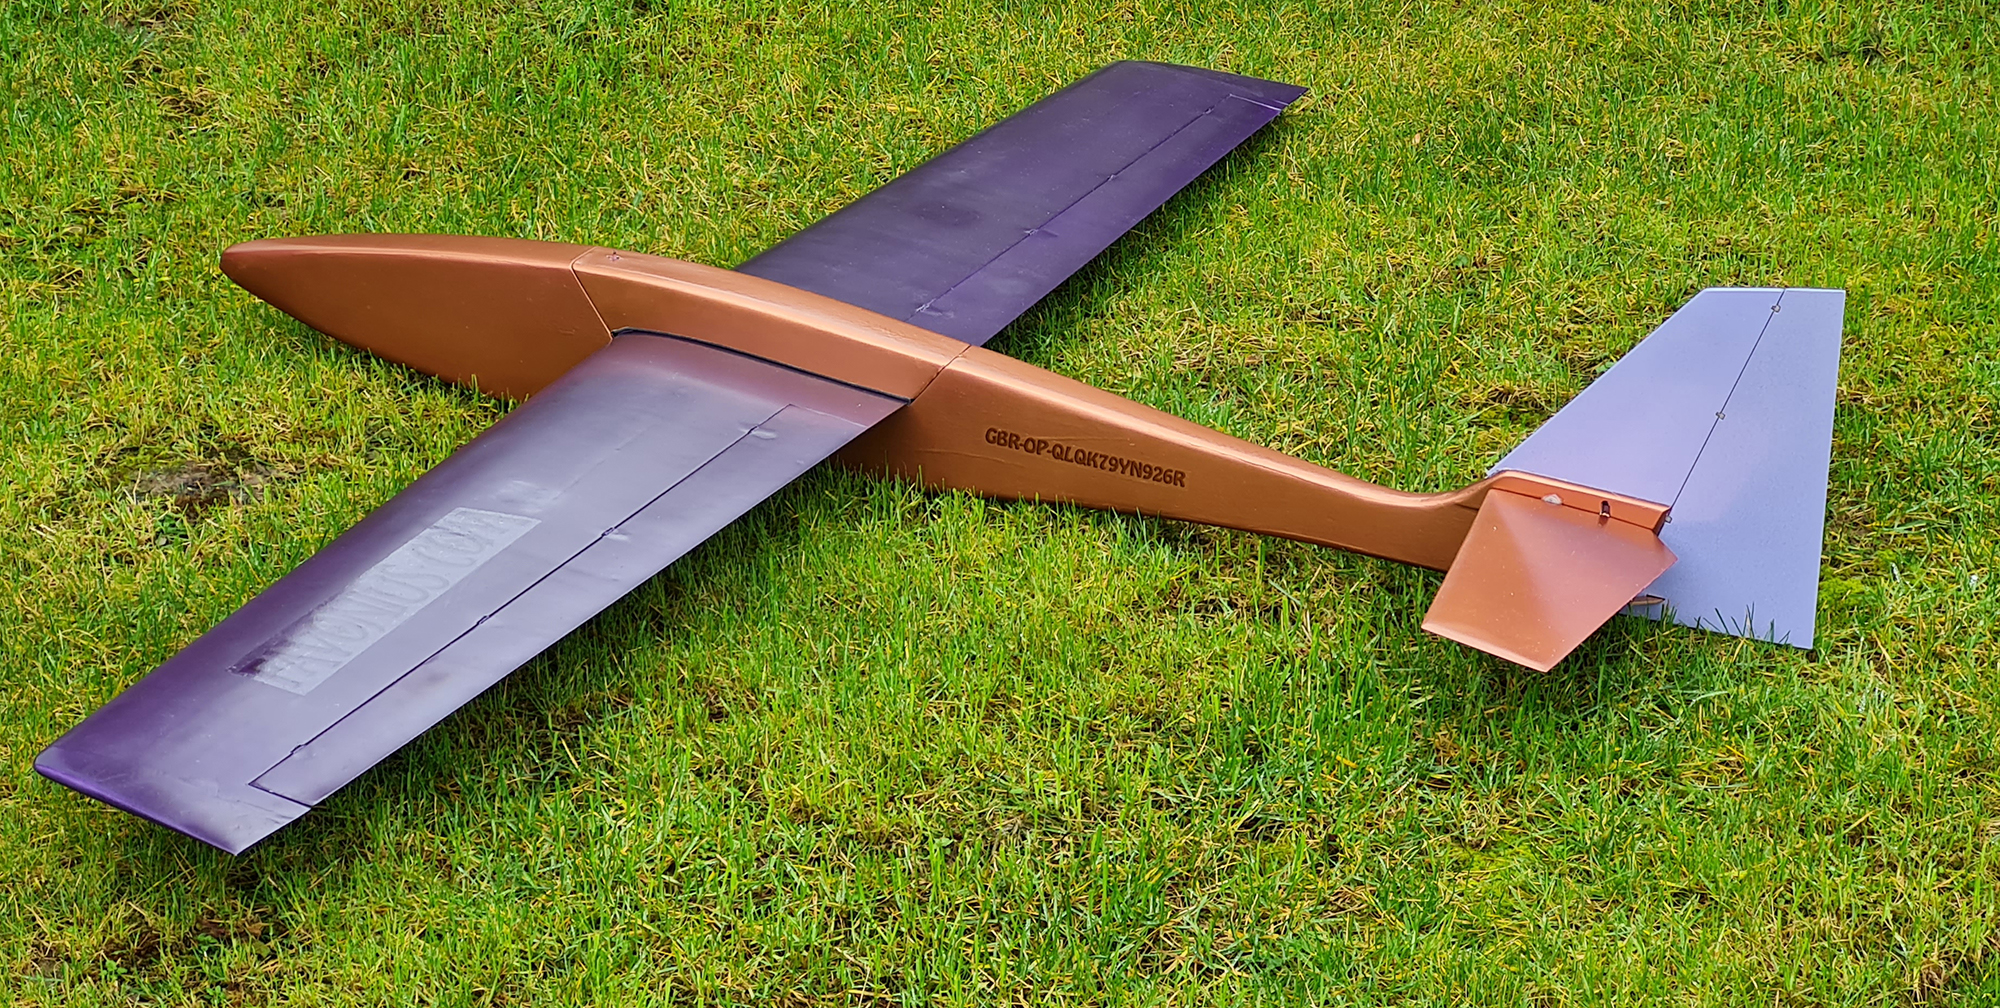
Finished model - not my best - a SB96 section wing from grey foam with vacuumed 100gsm carbon and 25gsm glass veil cloth. This is a variation of the AEOLUS but with different section and an AMT removable tailplane.
Caveat: I don't like to wear gloves when epoxying and I am aware of allergic reactions to organic chemicals. I am also aware of the effects of Bisphenol-A in resins with respect to fertility in fish and mammals. As they say, Nitrile (not vinyl or latex) disposable gloves should be worn when working with such materials. |
||
|
|
||