|

|
|

|
Do
you remember making AIRFIX kits when you were a lad? And what was the last thing you did
after battling with Polystyrene cement and those Humbrol Enamel
paints? You got
into another mess with the transfers, didn't you? They all floated
off together or you tore them trying to remove them from the backing
paper too quickly, or where a wayward spot of glue had sealed their
fate.
Well, you can enjoy that fun and
failure all over again for transfer paper for Inkjet and Laser
Printers is available in A4 sheets for you to decorate your latest
model, scale or otherwise.
As you may have seen already on my Contents Page I revamped my old aerobatic model, the
RUMOUR, with a repaint, some new servos and graphics and I 'graphicked' and
my latest one, the AEROBAT, too. I use Adobe Photoshop for image
manipulation but any piece
of graphic software, even the ones supplied with your digital
camera, will produce smart images. If you're really stuck try 'Googling'
the image or font you are looking for or simply use Microsoft's Paint or Microsoft Word's
'Word
Art' facility for fancy lettering like my title graphic above.
If it's something special you want for a scale model, or you can't
find the exact font of typefaces, that's easy enough too — just use
a photograph of the original graphic. If you're photo-manipulating
skills aren't up to much there must be someone in your club from
whom you can ask advice. |
METHOD
It quite easy to do,
just print your designs on to a sheet of transfer (decal) paper, allow to dry
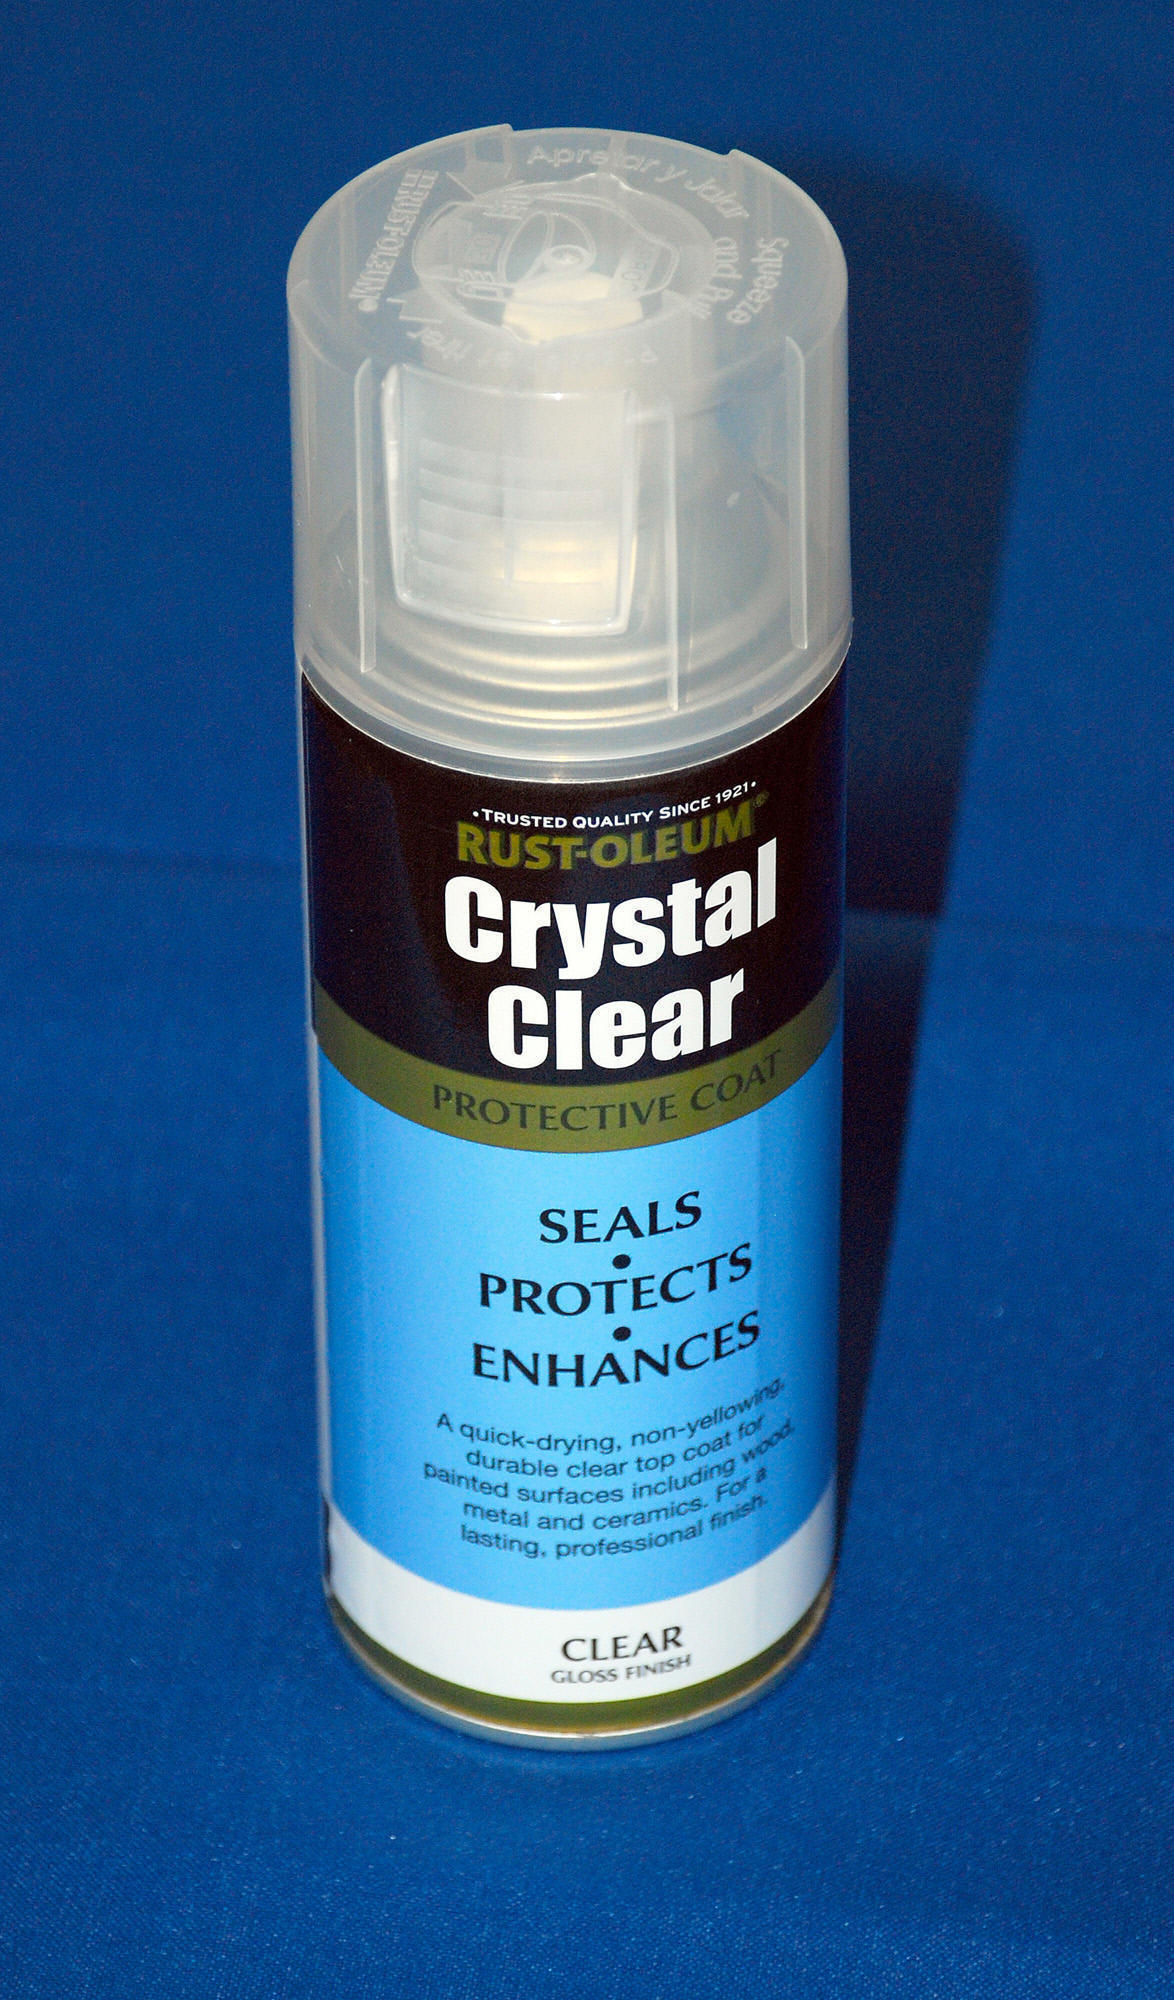
and spray the image with clear gloss acrylic spray (light coats) to
waterproof the transfers and you are set to get into a mess all over
again. When the lacquer is DRY cut your designs from the sheet and
soak them in warm water for a minute or so just as you did all those
years ago.
That's the idea but there are a few pointers:
> An A4 (210x297mm) or US letter size (216x280mm) sheet can hold a
surprising number of small images.
> Small images are much easier to slip off the backing paper and apply
to a model than larger ones. (I have struggled applying larger ones so I know.)
 > Use the best colour setting available on your printer, I set my
Canon printer to the Photo Paper Pro setting. You may need to try a tiny test
piece it first in the corner of a sheet, mind you. > Use the best colour setting available on your printer, I set my
Canon printer to the Photo Paper Pro setting. You may need to try a tiny test
piece it first in the corner of a sheet, mind you.
> You can seal the images mounted on your model with another coat of
clear varnish otherwise they may slide off when it rains!
> As I said above, you are not simply restricted to text since you
can use photographs, (I'm thinking here of 'Memphis Belle' type
designs.)
> Use Gloss rather than Satin spray to waterproof the inkjet
paper ink.
Inkjet Printable
Self-Adhesive Vinyl
This is also
available from eBay. It is much more durable than a transfer but
thicker too. Once again you will need to seal the Inkjet ink with a
clear lacquer. This paper is available in clear or white. |
W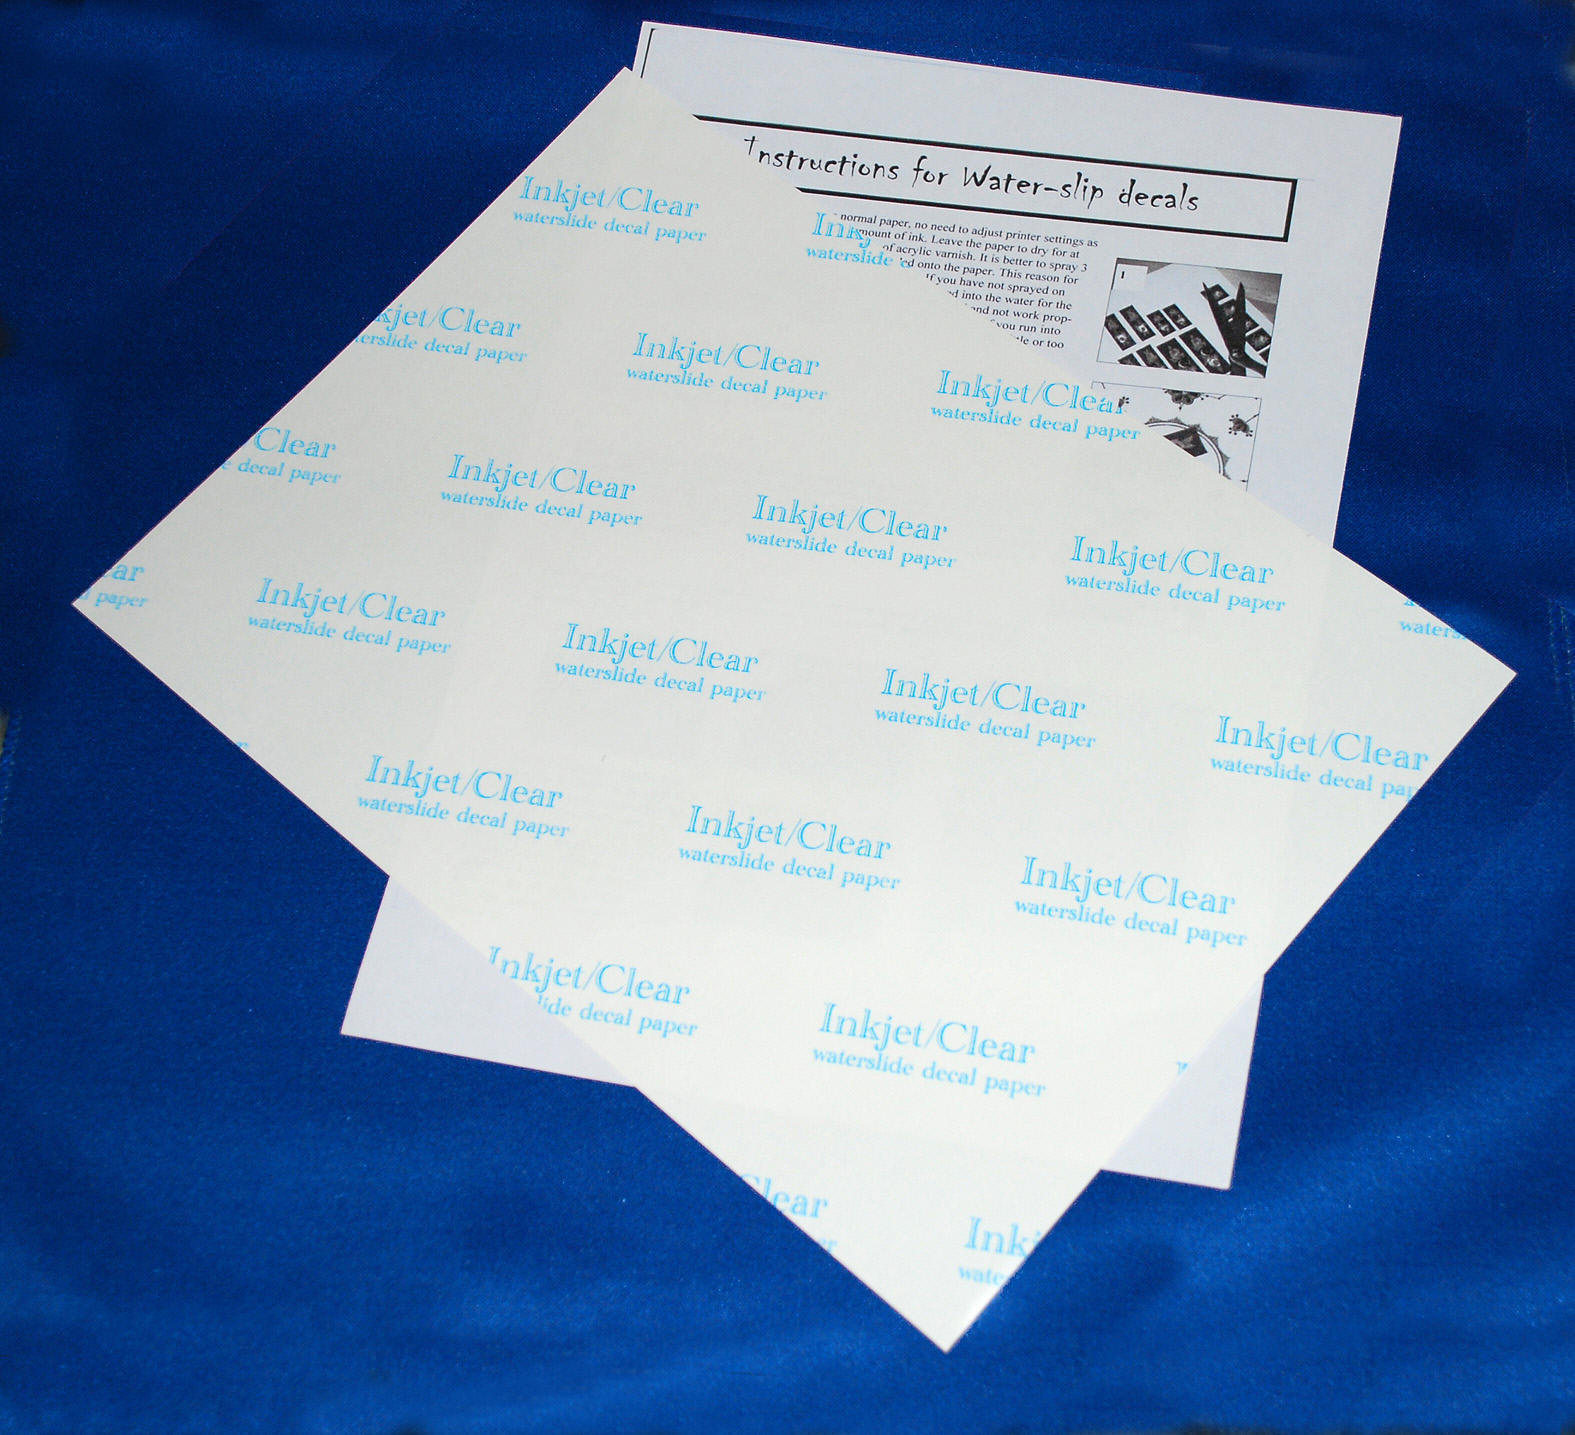 HERE? HERE?
I got my Inkjet
transfer paper from Ebay. Just search for Decal, Waterslide or
Transfer Inkjet paper and you'll find it easily enough. I searched for it in February 2010
and found that 10 A4 sheets cost £11.49 + £1.99 p&p but like I said, one sheet
will hold a lot of images. Single sheets are available too, albeit
at a premium.
Perhaps an enterprising soul in your club would like to make the
effort of a 10 sheet order as a trial? The decal paper is available
in Clear or
White (the background that it is). I use the clear. My printer doesn't print white,
how about yours?
As for the aerosol clear gloss acrylic spray/varnish, I got that in
B&Q or Homebase, I can't remember, but any art or craft shop
should carry
it too. |
LINKS
Airfix - www.airfix.com
(in case you're tempted)
B&Q - www.diy.com
Ebay - www.ebay.co.uk
Hobby Craft - www.hobbycraft.co.uk
Homebase - www.homebase.co.uk |
 |