|
The WOODRAY (Rechnung #92 2022)
|
|
|
So the Autumn and then Winter arrived and I found myself spending money on a wooden kit from Germany and a ready made electric soarer from France, the Mezzo. The postage on both kits, customs and VAT just about killed me! |
|
|
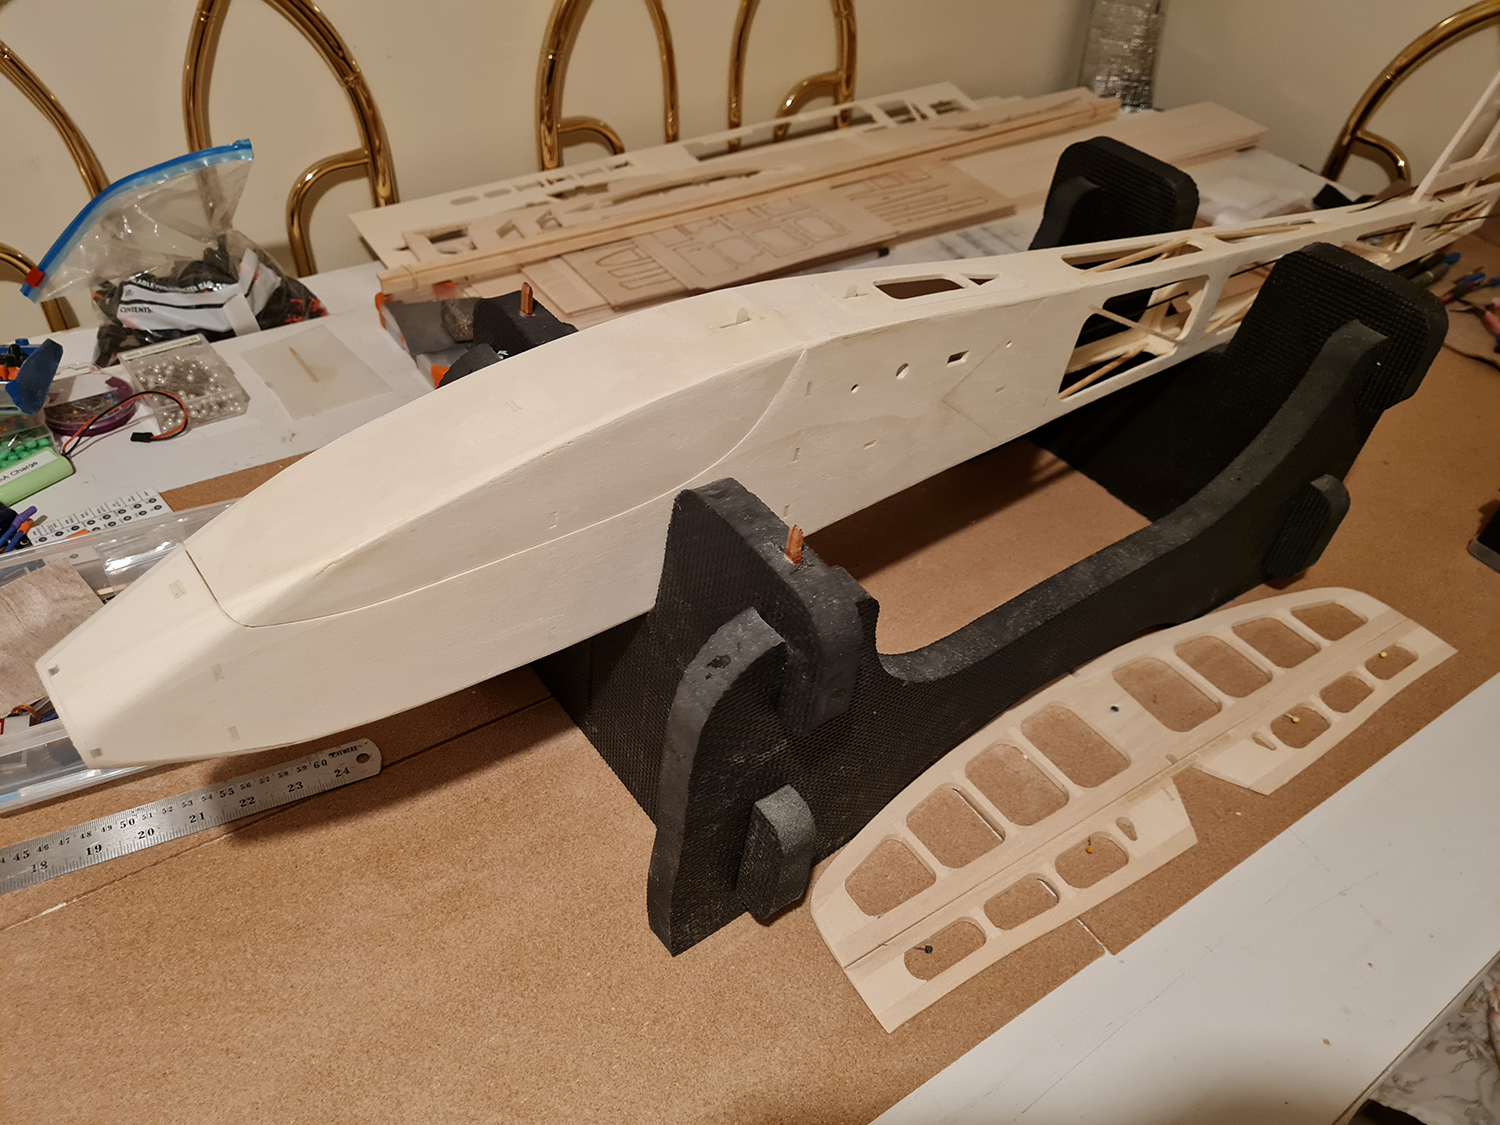
To date,
as I write, I
have only made the tailplane and rudder, and hinged them, and the
fuselage. I glued the motor mount and dry fitted the motor, the servos
and carbon pushrods and 'hollow' spinner. I also finished the hatch and
cooling cover hatch locks. A jolly good carving and sanding and the
fuselage is ready to cover with film after a final balsa filler and fine
sanding. Next the Wings... |
 |
|
|
|
|
|
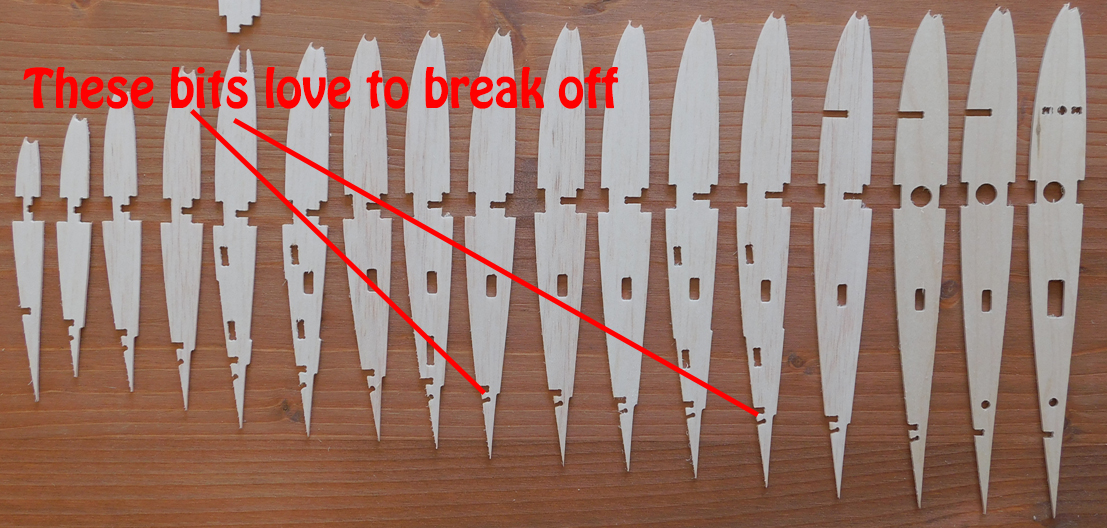
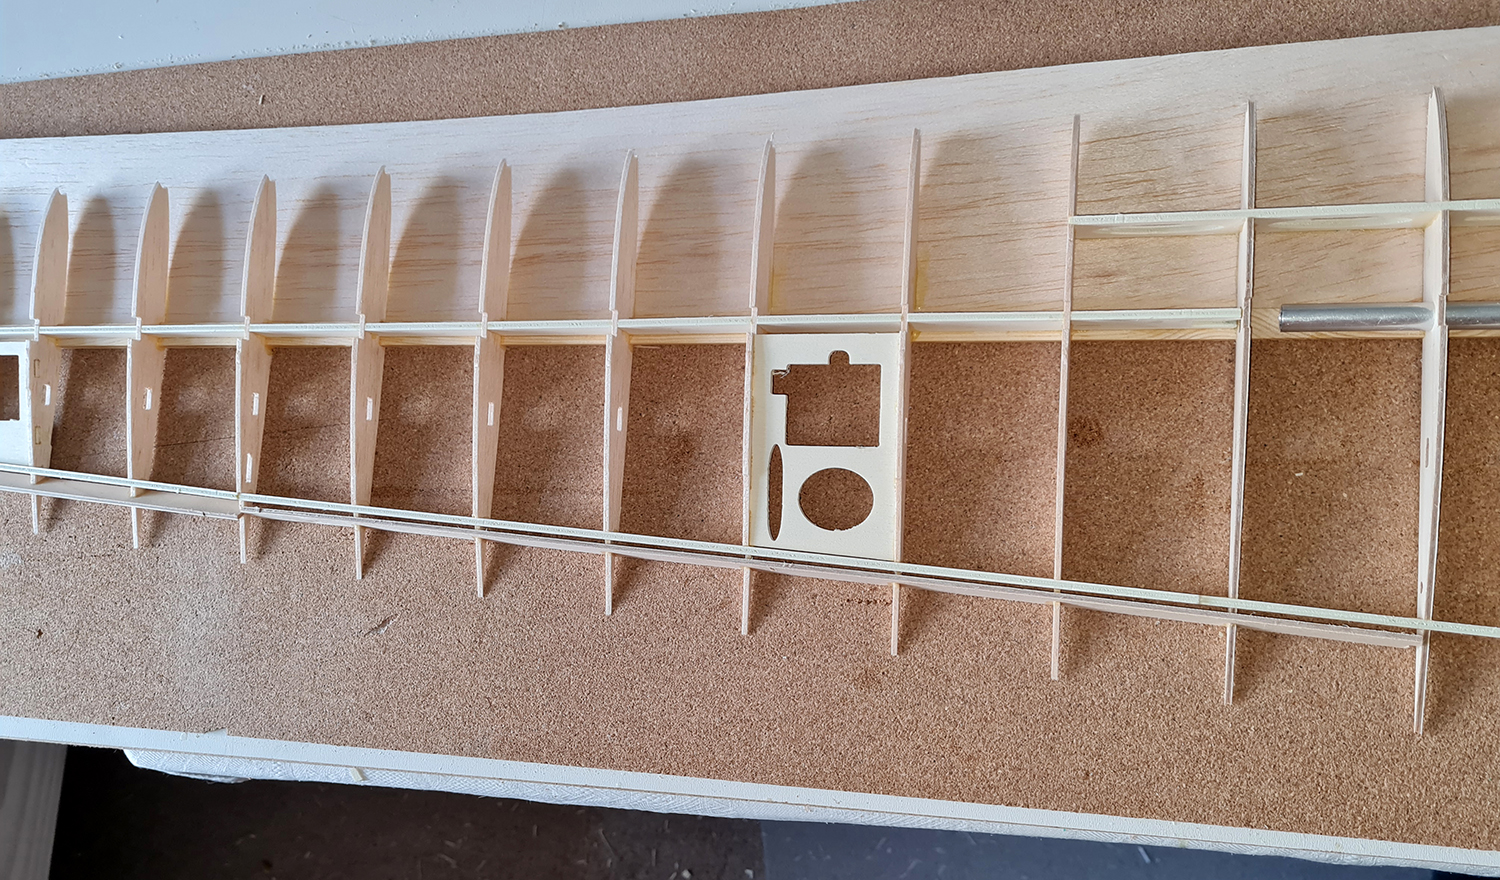
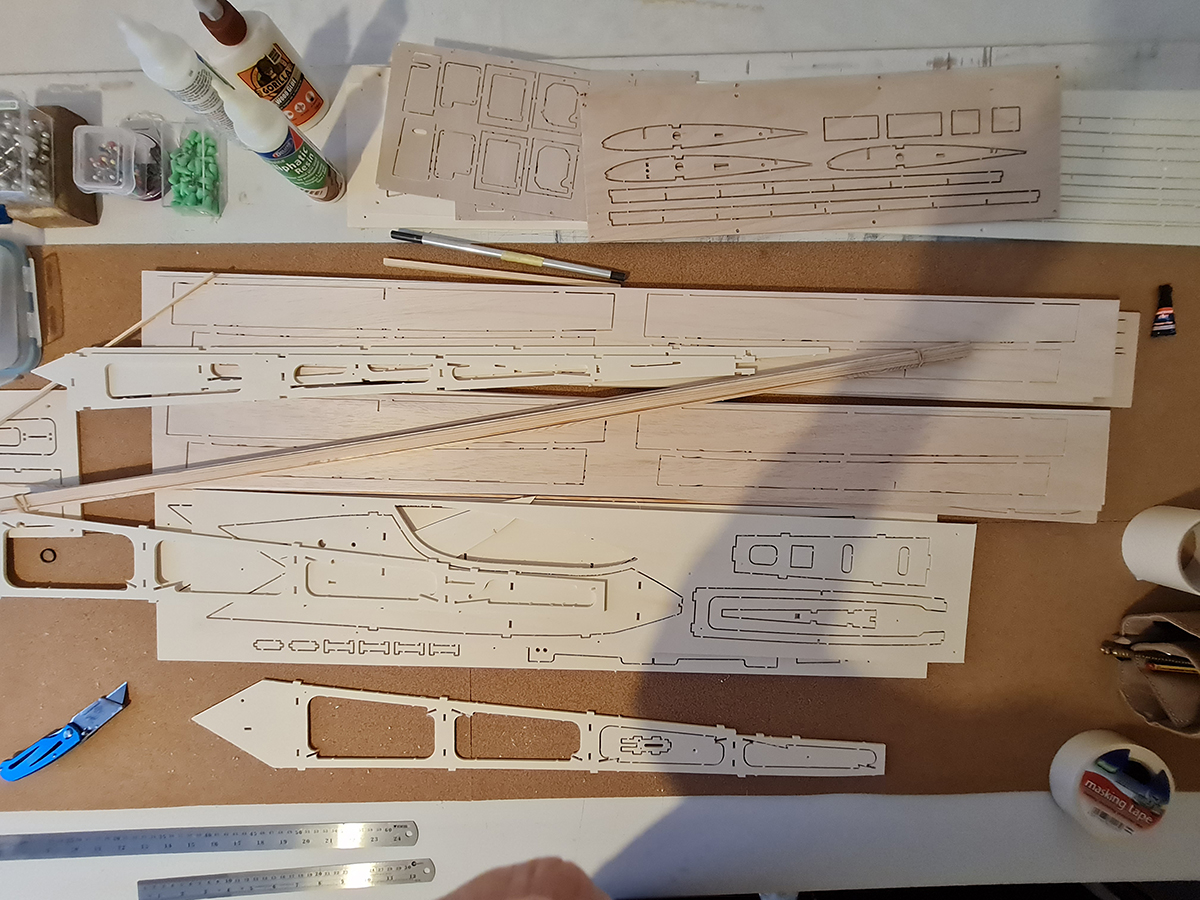
So after Christmas '22, I made a start on the wings; while the fuselage and tail were relatively easy, the wings proved more troublesome. The trouble comes because the wing ribs are computer drawn and cut with laser or CNC machine so there are impossible tiny spaces in the balsa ribs etc. of the order of 2mm that love to break off along the grain if you're not careful. Add to this the fact that there was no plan and the images and the cursory words in German were simply inadequate for the job of the wings. I suggest you do not to 'dry' fit the parts. Google doesn't do German very well btw...
|
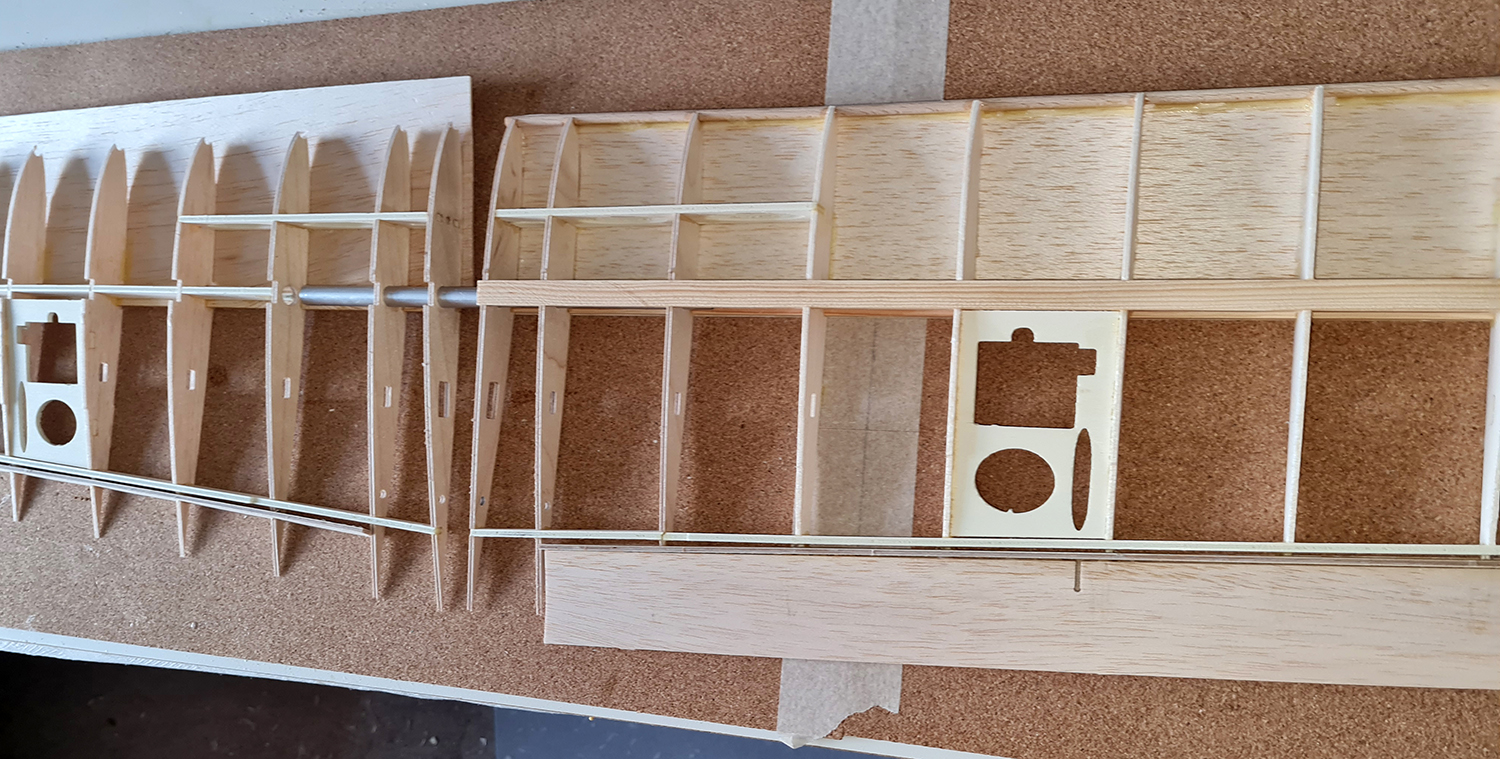
| A week or so on and I am growing frustrated at every step and simply have to walk away from the building board for a rest to try and make sense of what I'm doing... back to the images and German text, and Google of course. After my 'rest' I made a little progress, the frustration eased and realised I should glue the bottom spar to the bottom sheeting first and the rear spar (where the ailerons attach) is added afterwards in two parts. The leading edge of the ailerons is angled and the delicacy of the ribs shown above made this awkward. The ailerons were tricky to get right but by the time I was making the other wing half this was easier to do. You have to get these pieces correct as there are subtle differences between the top and bottom surfaces of all the pieces... I reckon one half of my wing will be better than the other !!! Midway through wing construction (now mid-January)... note different gap between panel and ailerons and flap (image below, left side)... I can see that there is going to be some difficult sanding to be done on the light-ply flap and aileron leading edges without damaging future sheeting! Hey ho! Bit by bit I'll get there and bodge my errors:-) |
|
|
|
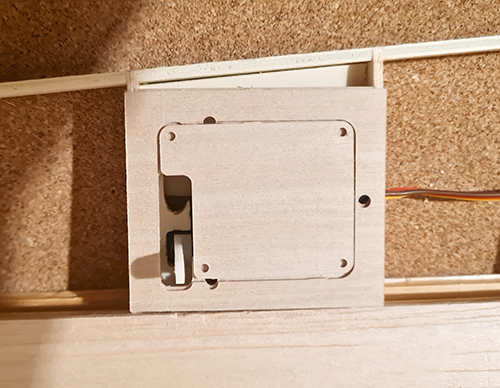
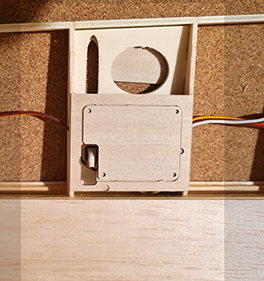
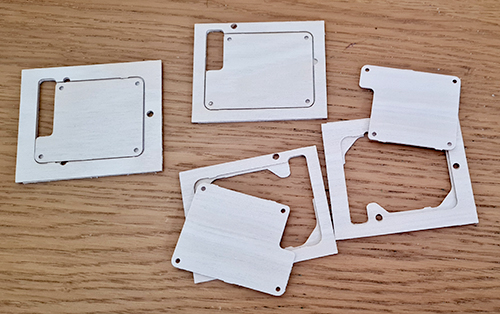 I struggled rather with the differently shaped 3 part servo covers (0.8mm ply) for 4 servos but I got there in the end! I may seem to be complaining but take it from me that this kit is very accurately cut and is not one for the inexperienced builder; and I've built many models over my 40+ years of modelling.
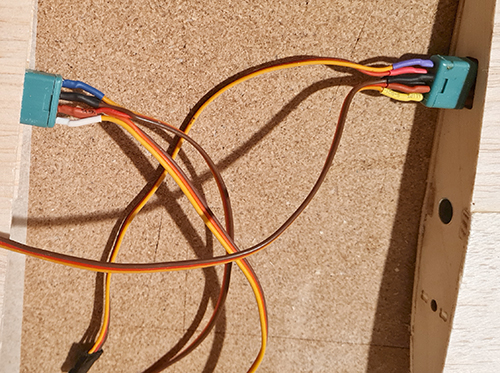
Today, I just finished soldering the servo wires and multiplex green plug sockets which obviously fit in the wing root. The wings are now mostly done including the aileron and flaps which were a pain btw. Next job is to fit the servo arms and rake the as shown in the photos on the Woodray .pdf file. The arms are raked to create a servo arm angle of 38º for the ailerons and 23º for the flaps. [So accurate the Germans... the distance between clevis and horn horn are also rather precise for my my of building...55.8mm and 33.4mm, really?]
|
|
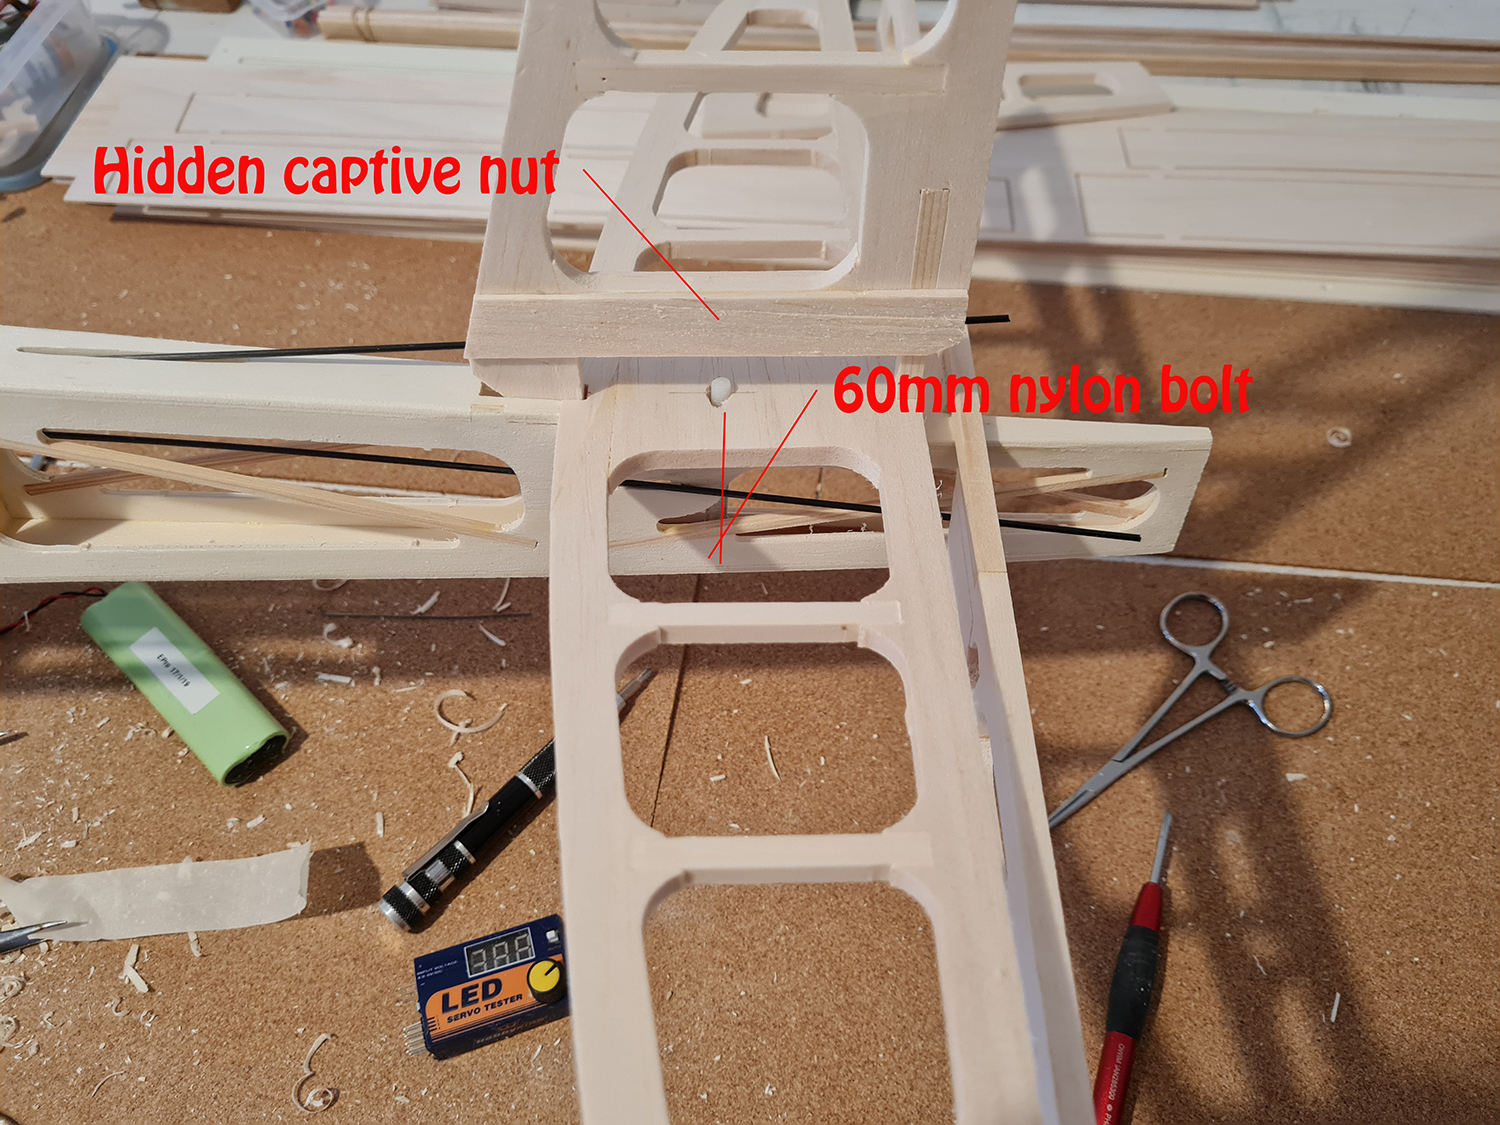
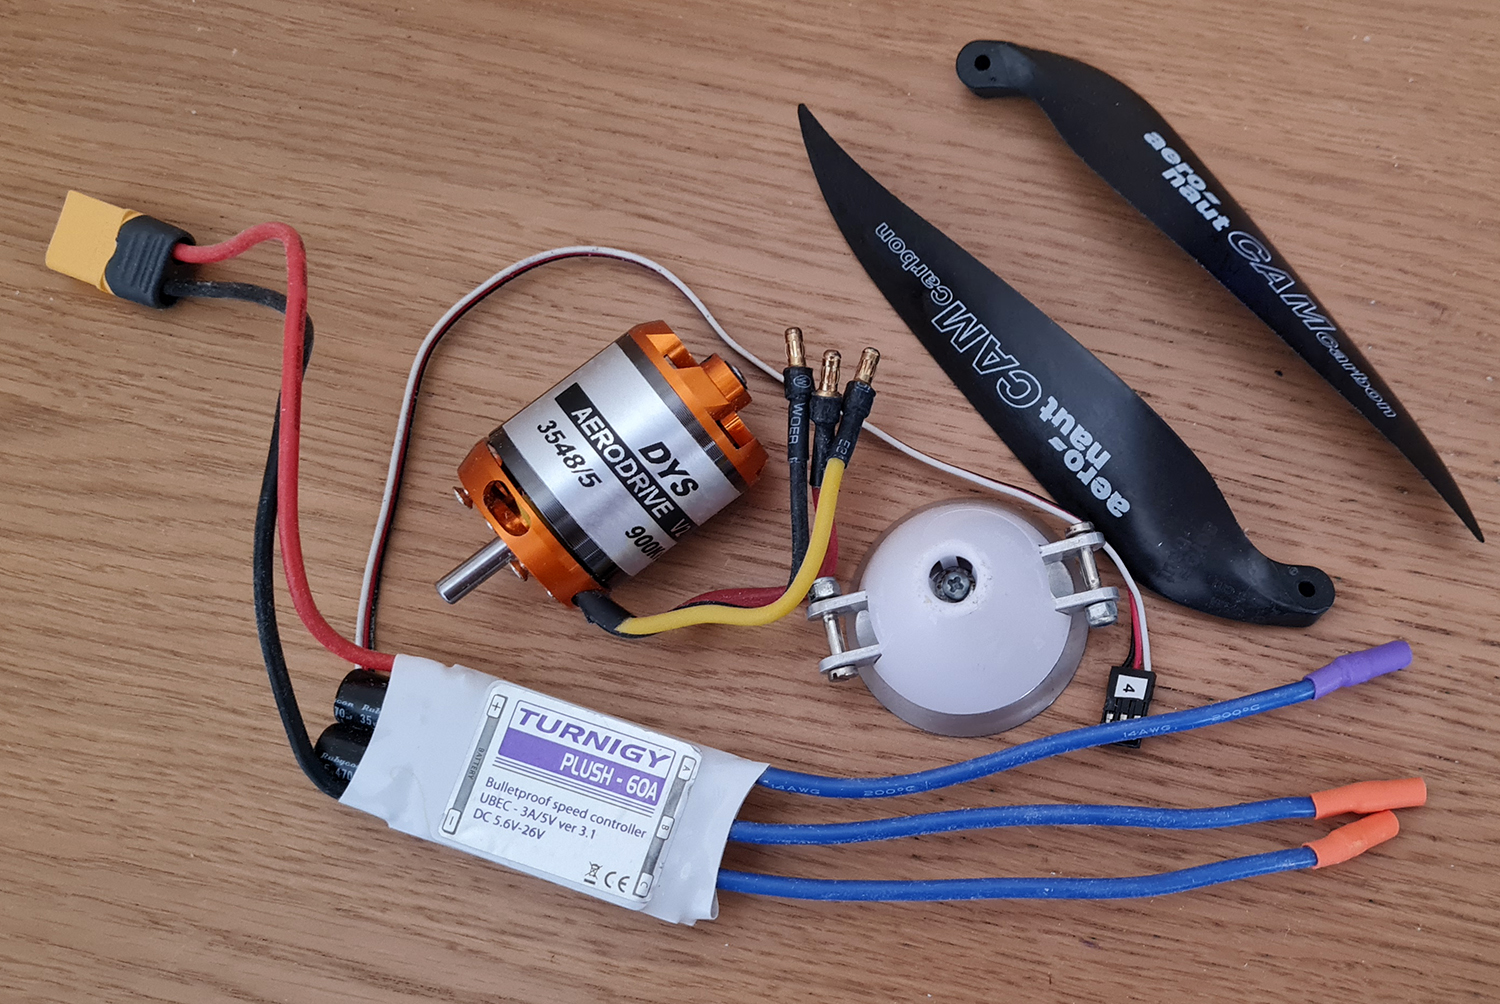
So, most of the airframe is finished and now needs 'snagging' so to speak to get it ready for a final sanding and covering with film along with the rest of the model. I have chosen white film, some of which I already had, and bought a roll of Ripmax film in Pearl Purple - a favourite colour of mine, and good value at £12.99 for 2m x 0.6m, I thought, compared to Oracover. Of course, I still have to set up all the six servos and horns and their movements, and this is something I do not like doing at all. A word about the Power Train. I chose a cheaper motor, the wrong one as it happened! - I had to alter the spindle because the wires came out the front end of the motor rather than the back. I did it but I don't recommend anyone doing it. I already had the 60A ESC; I hope that 60A is enough. I also already had the 30mm airflow spinner but had to get the recommended propeller blades - 12x10 in this case. |
|
|
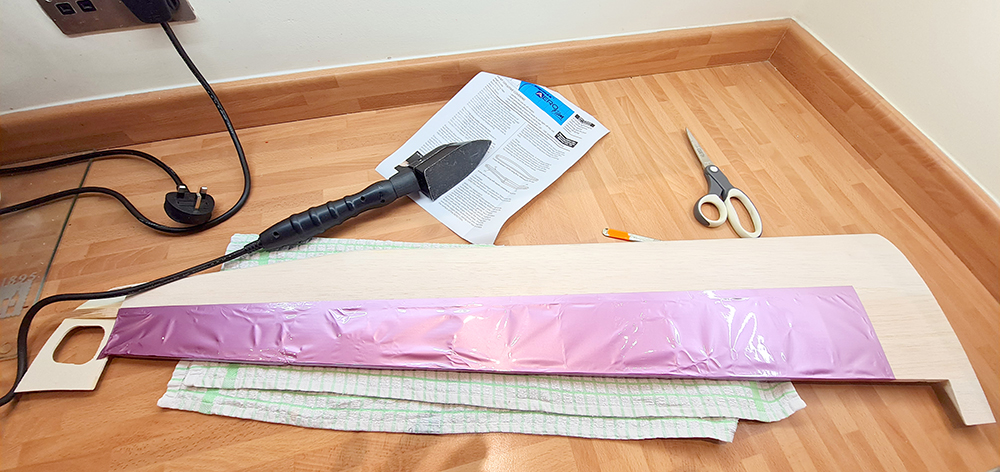
Ok, So, I made a boo-boo. I peeled of all the film I had just done and started again, this time using white Solarfilm. This time I felt more confident but as I was shrinking the layer with my heat gun... I burned through this one as well. (Shit, merde, skit, merda, paska, scheisse, lort, mierda... take your pick!) At this moment I'm having a cup of coffee. Hooray! Third time lucky, I managed to cover the bottom on one wing panel satisfactorily with white Solarfilm. I think I'll have a rest now. More later. |
Going into February 2023 that's where I'm at, at the moment. BTW, I weighed the whole airframe including 6 servos and it came out at 1160g or 1050g without servos and wires.There was slow progress over a couple of weeks as I tired of building and did something else. I decided to modify the ailerons and flaps not being happy with a film hinge as suggested in the instructions. I finally bit the bullet and began the covering... this is a pearl lilac film from Ripmax, a film I have not used before. It seems to need a lower temperature than other films I have used. The first piece went on OK, with the second piece I ended up 'burning' a hole as I had the iron too hot! Argh! No matter I'm afraid I'll just have to patch it as I don't think I have enough to replace the whole piece. I'll get there in the end although I hate using polyester film, it always looks tatty after a couple of week's worth of scuffing.
 |
|
|
|